peacock kitchen cupboard
Dec. 7th, 2022 11:53 am
So! As I may have mentioned before, sometimes I do woodworking. I work with hand tools and no power tools (except for Cordless Drill My Beloved). I do this because, to wit:
- I don’t have room for power tools, as I actually want to park in my half of my garage
- I don’t want to set up a whole dust collection system even if I did have room
- I hate the fucking noise
- I hate the fucking dust (see point 3)
- I am deeply clumsy and don’t want to lop off a finger, which I absolutely would do if allowed to get anywhere near a table saw
- I’m a pretentious broad
We keep a kosher kitchen in my house, which is great! But also it sucks because we don’t have enough cabinet space just like. In general. Because despite this house being in the shtetl (affectionate) it somehow is poorly laid out and lacks sufficient cabinet space for our Jewish Ways. So I started working on a cupboard a couple of months ago that would allow us to actually get some of our lesser-used-but-still-vital cooking dishes out of the Ikea cabinet thing that is allegedly “the baking cabinet” but in actuality is the “baking, plus the overflow of cooking utensils we don’t have room for elsewhere” cabinet.
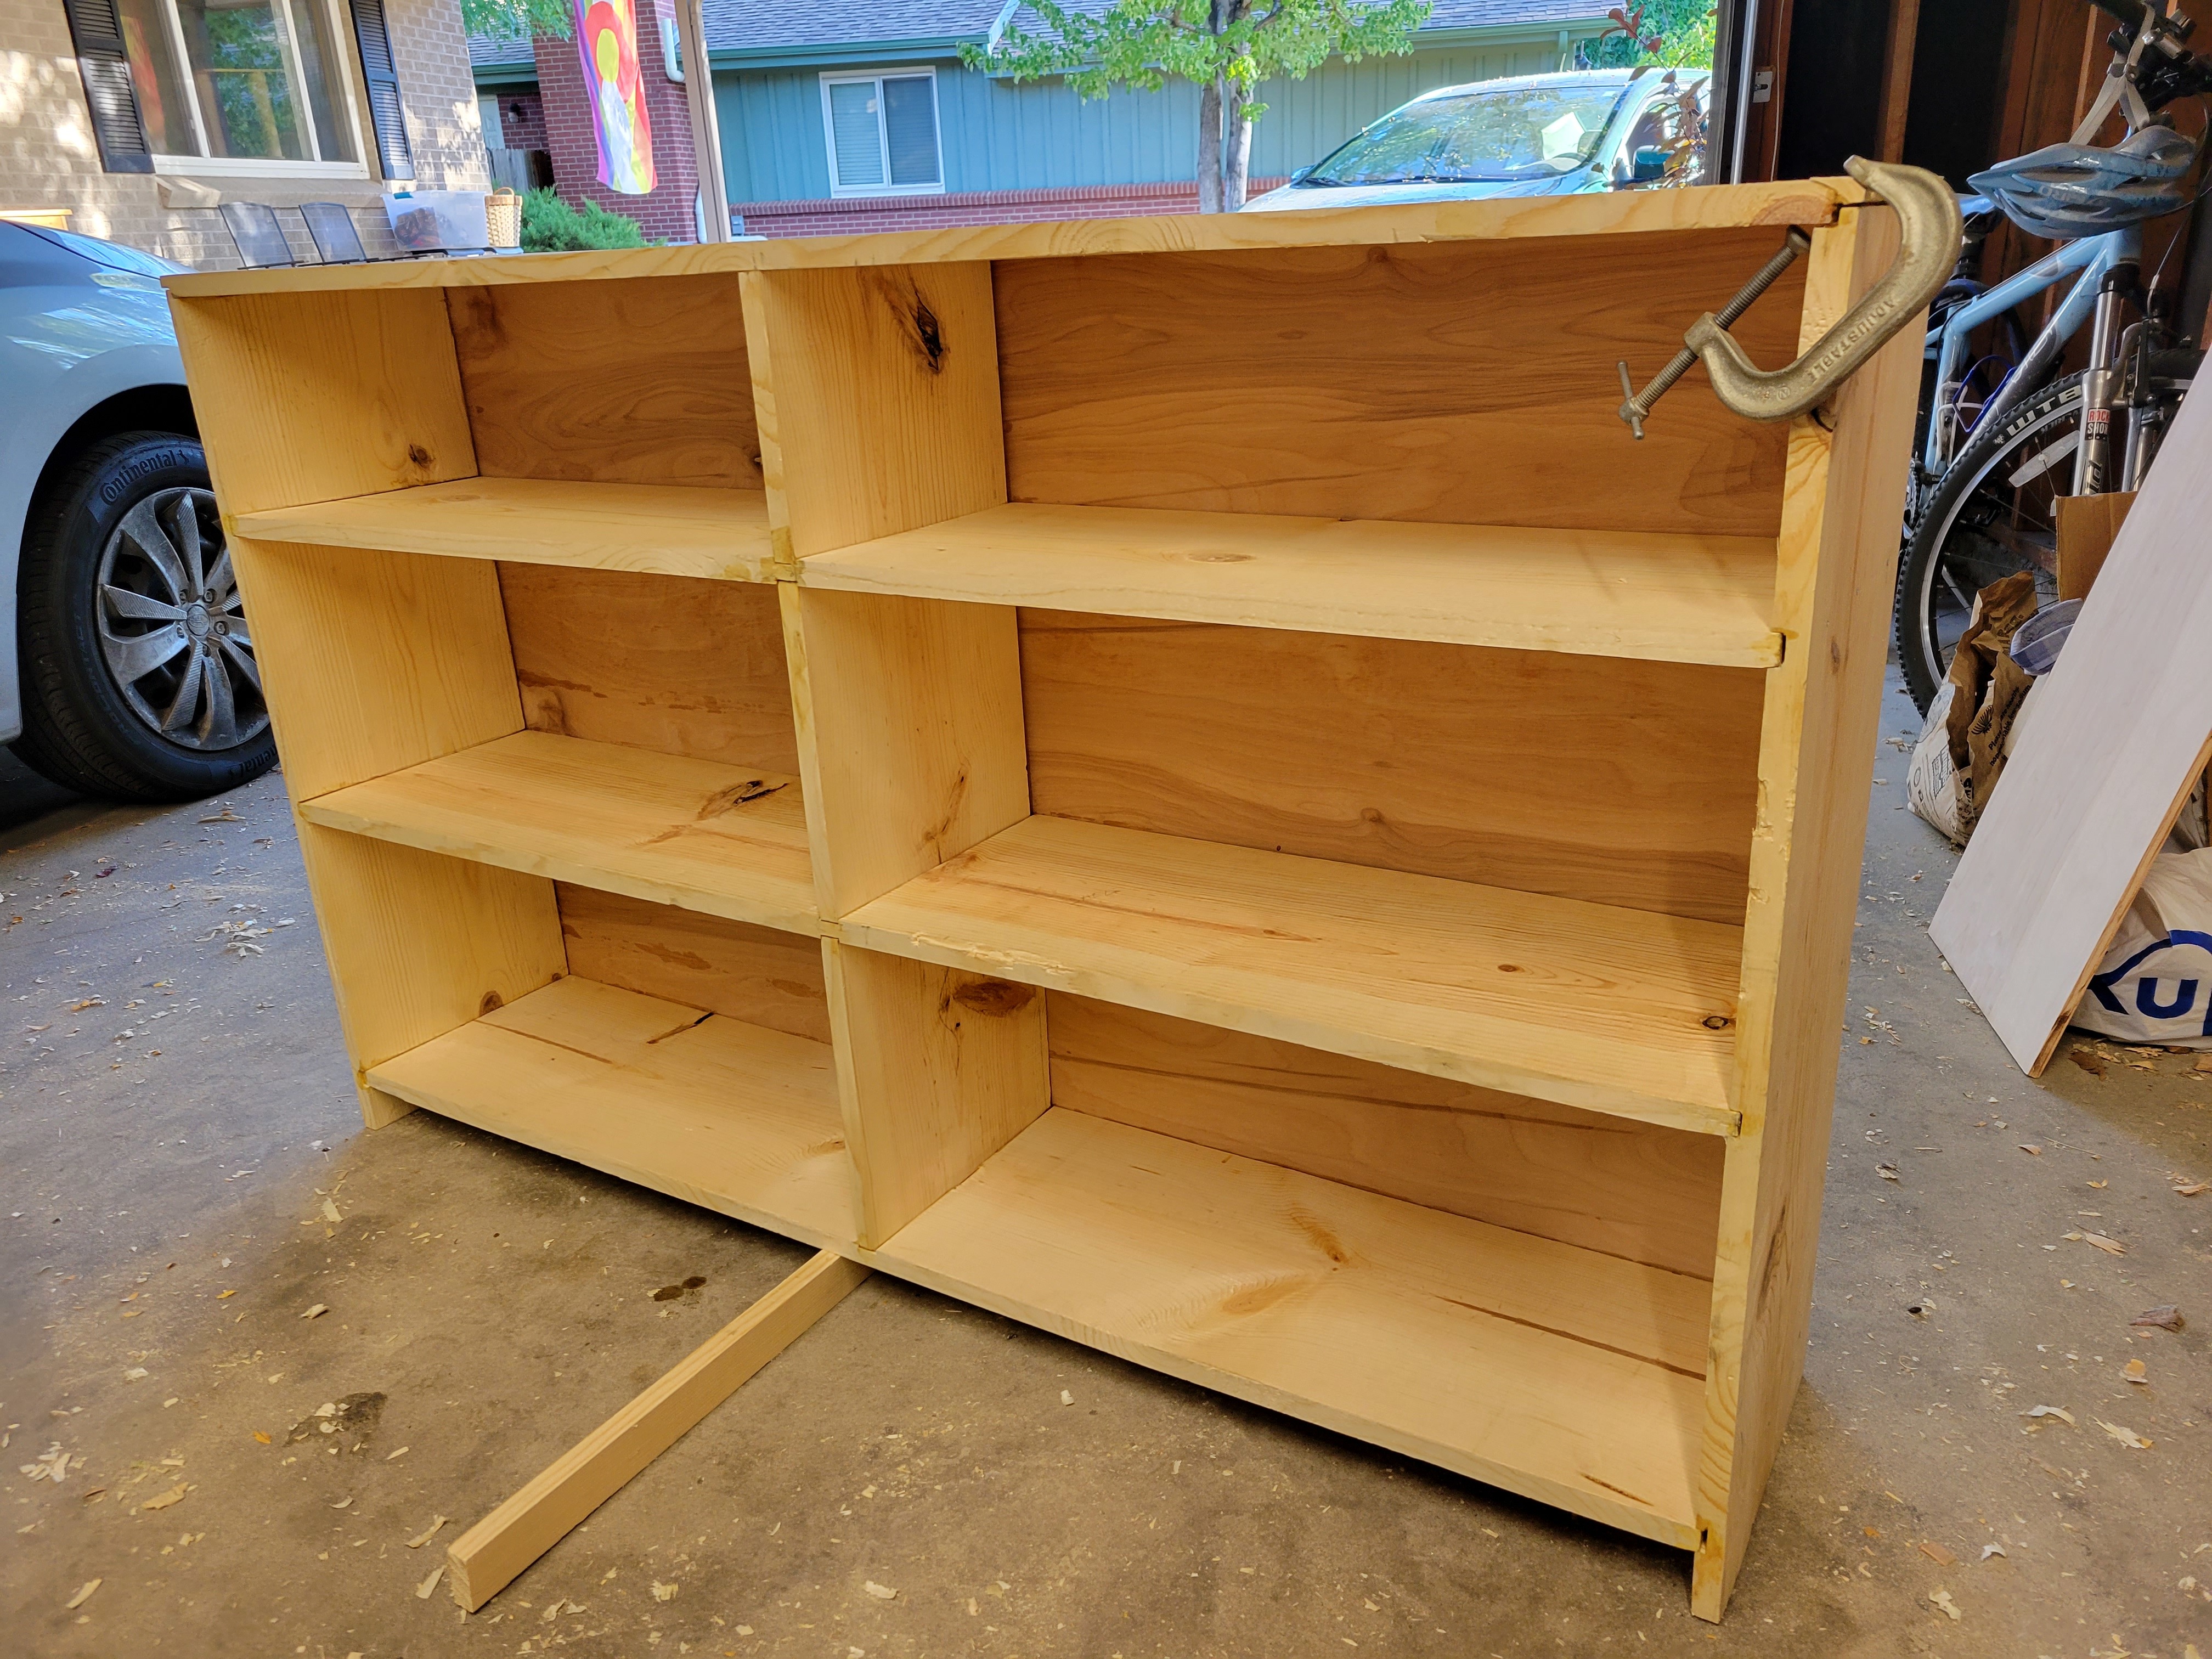
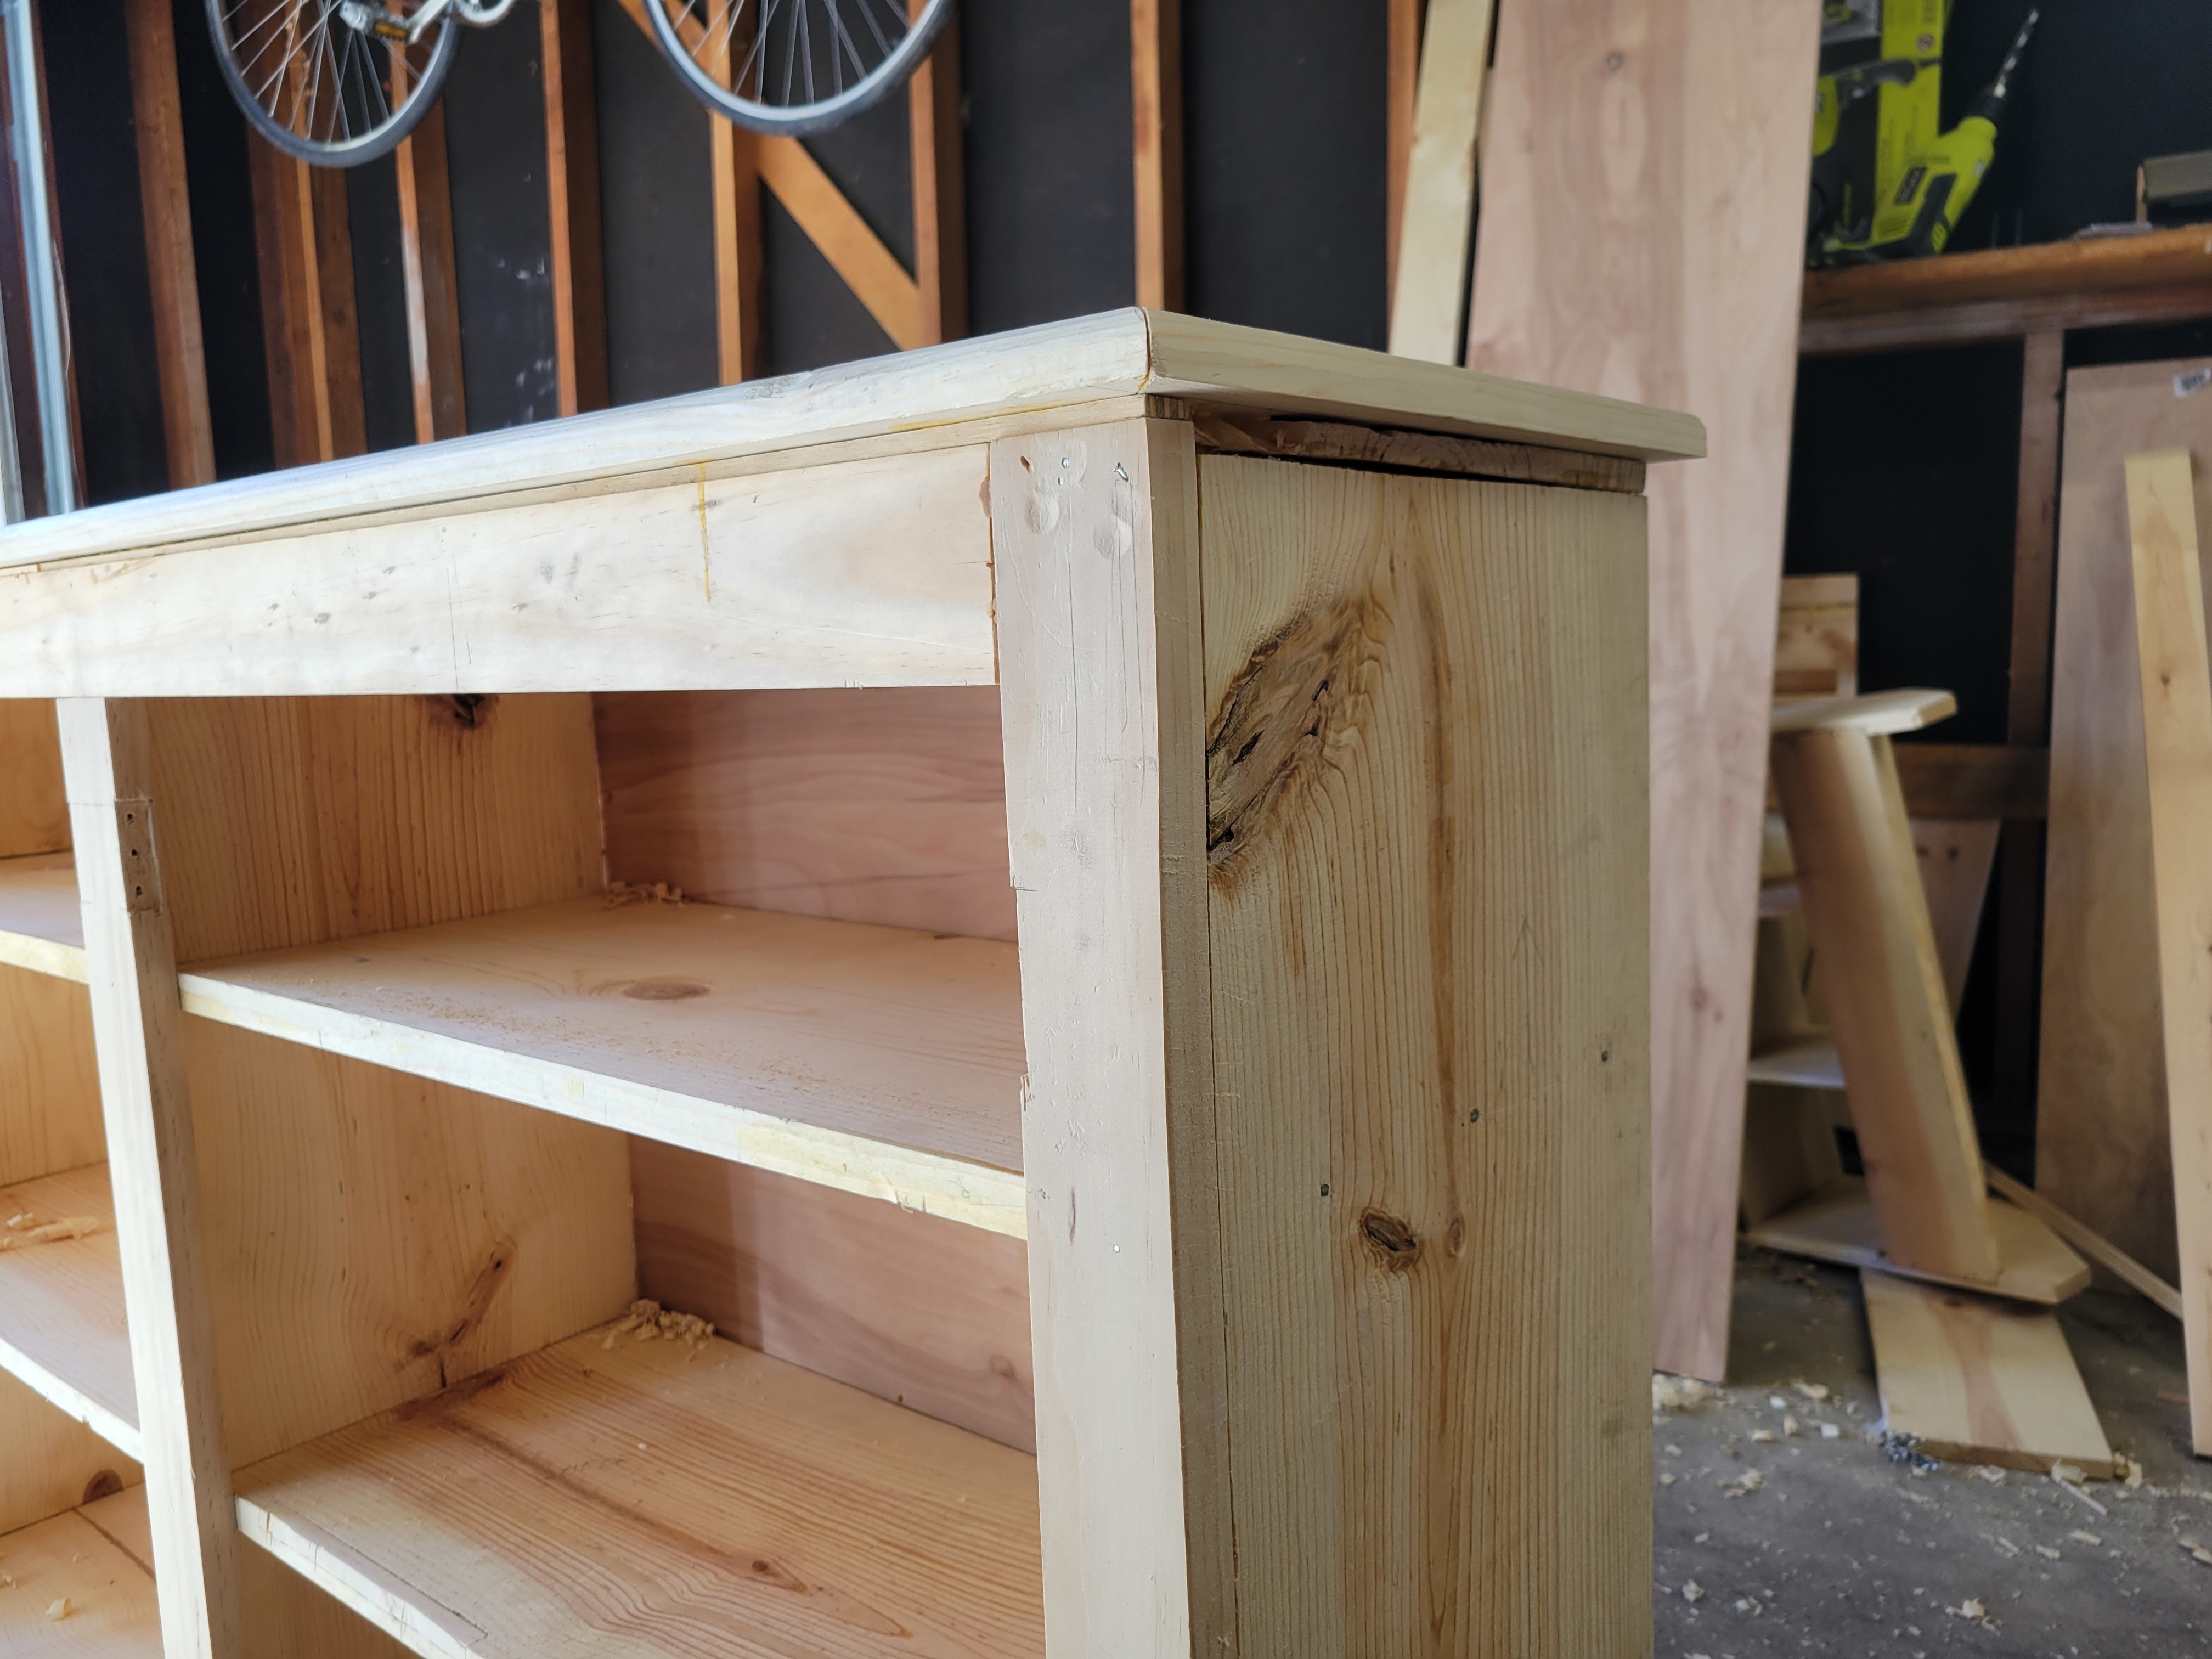
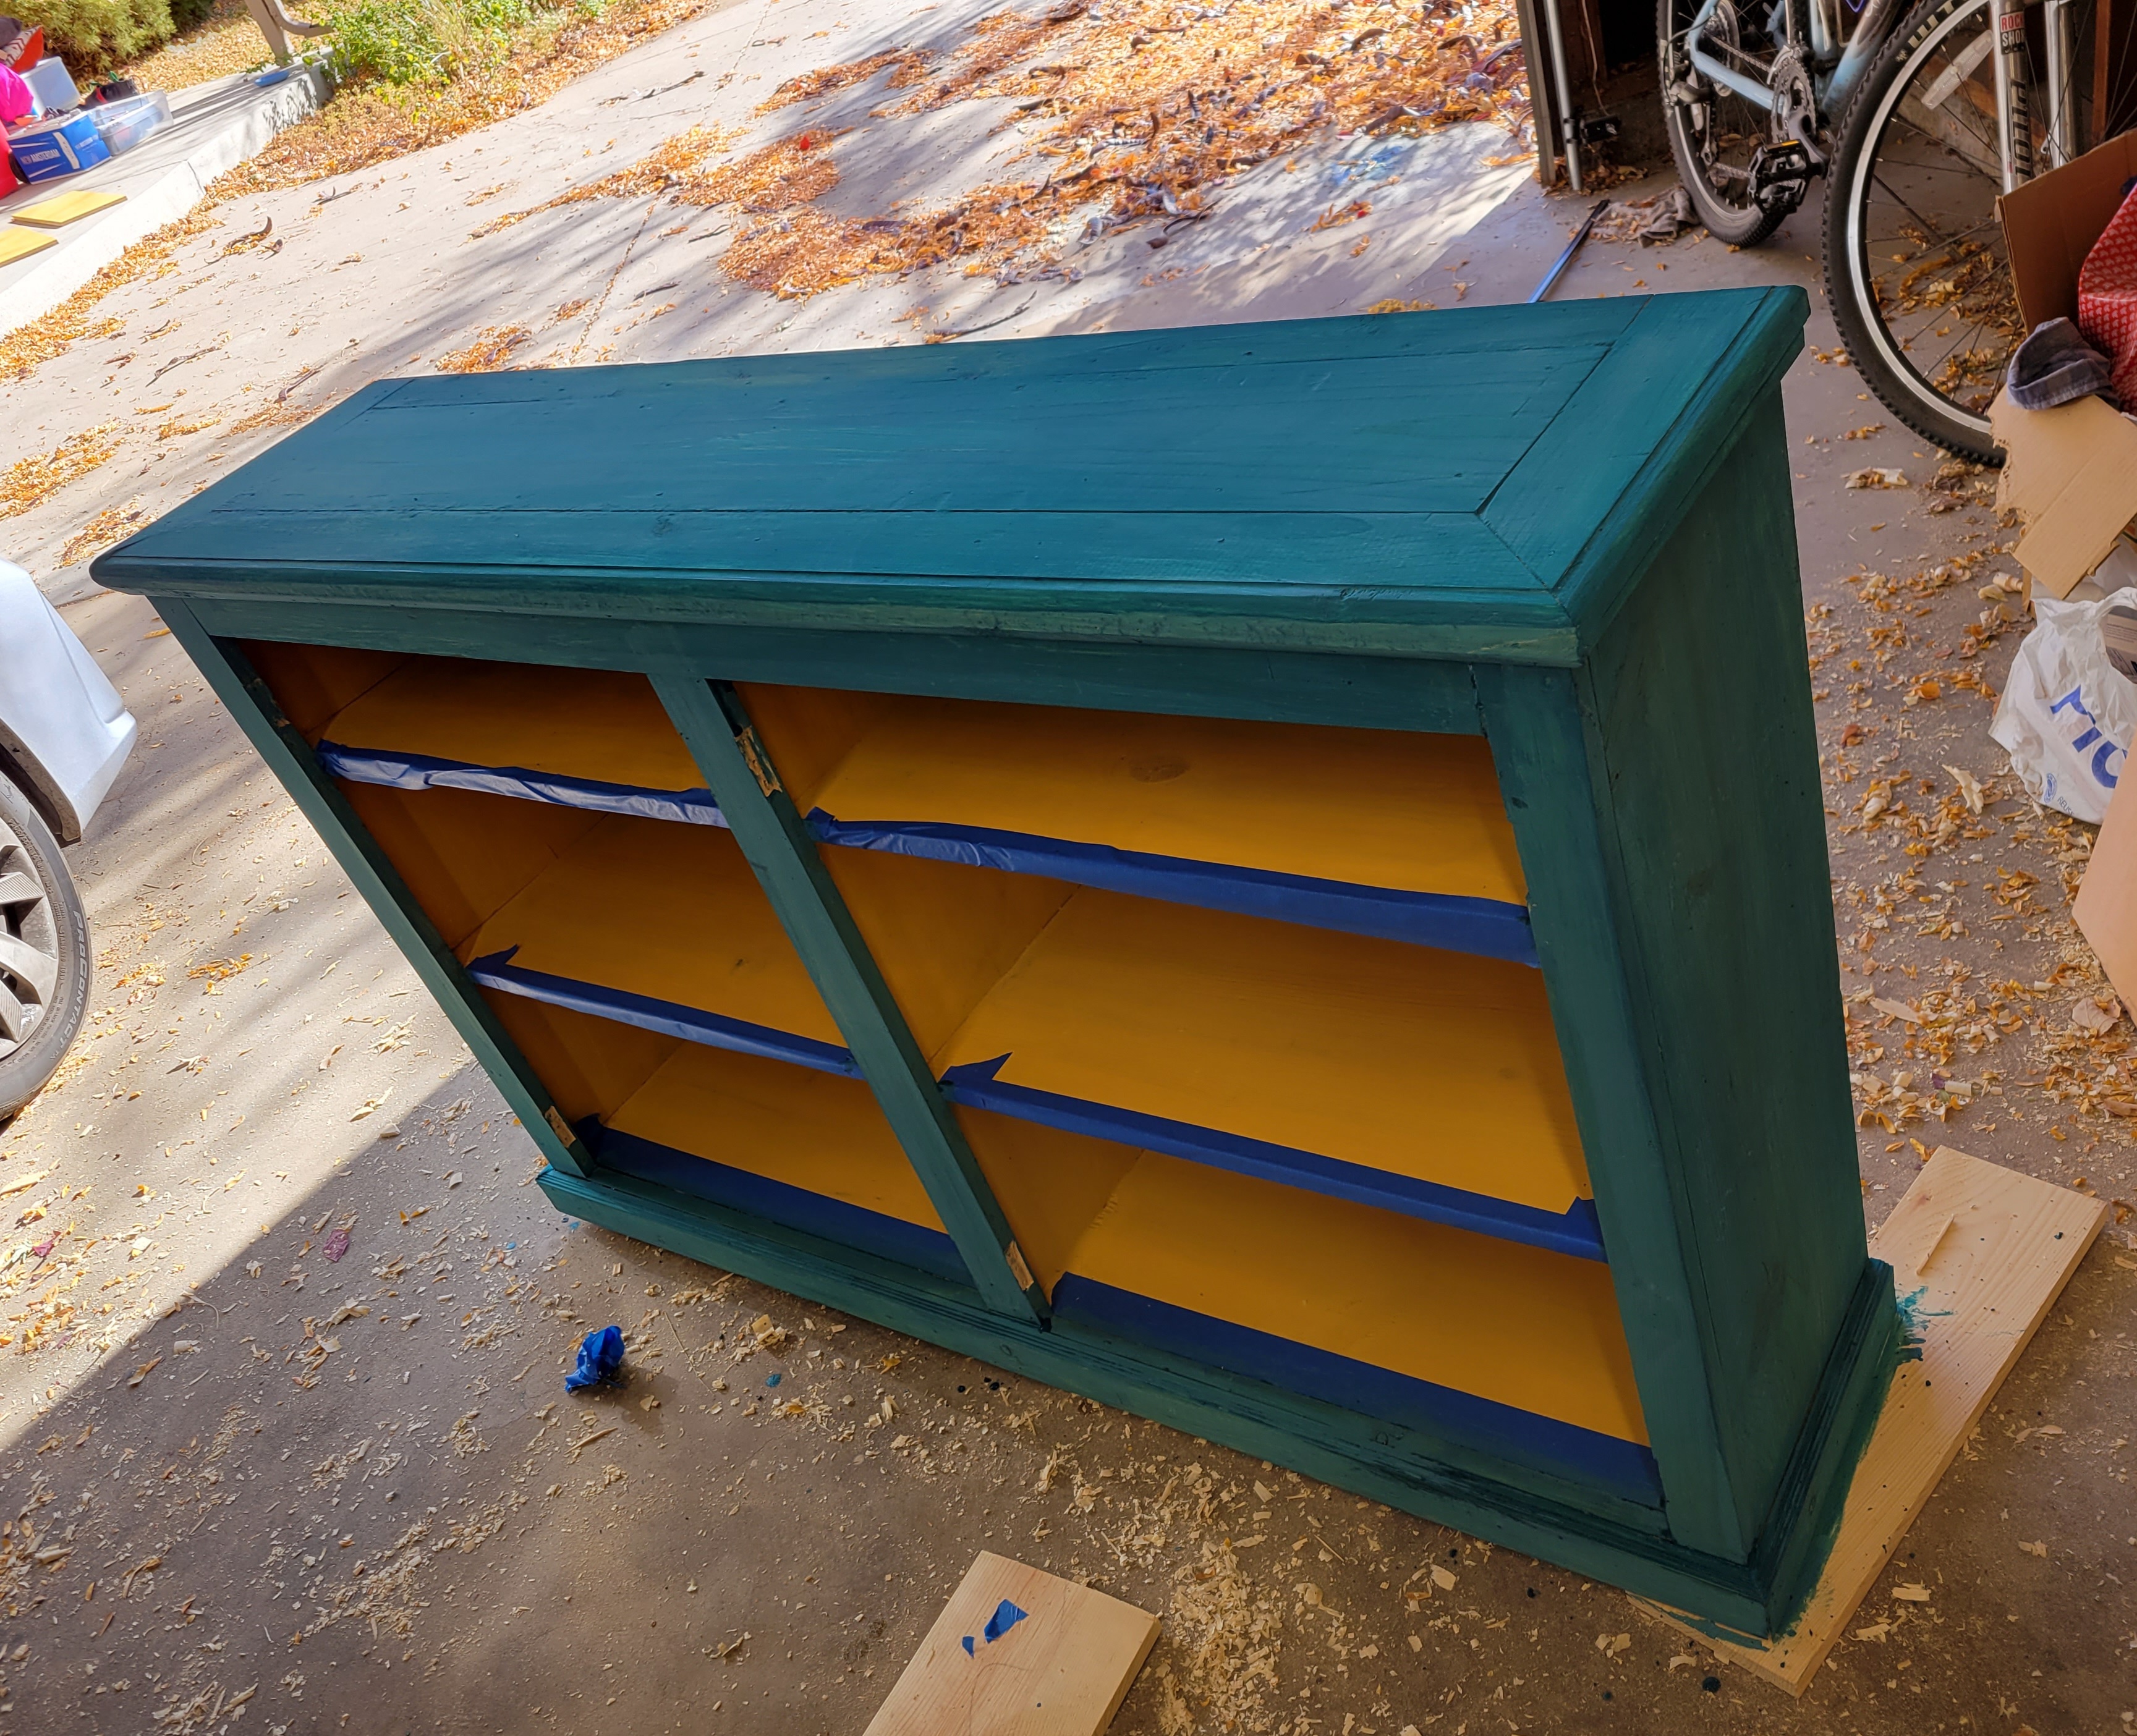
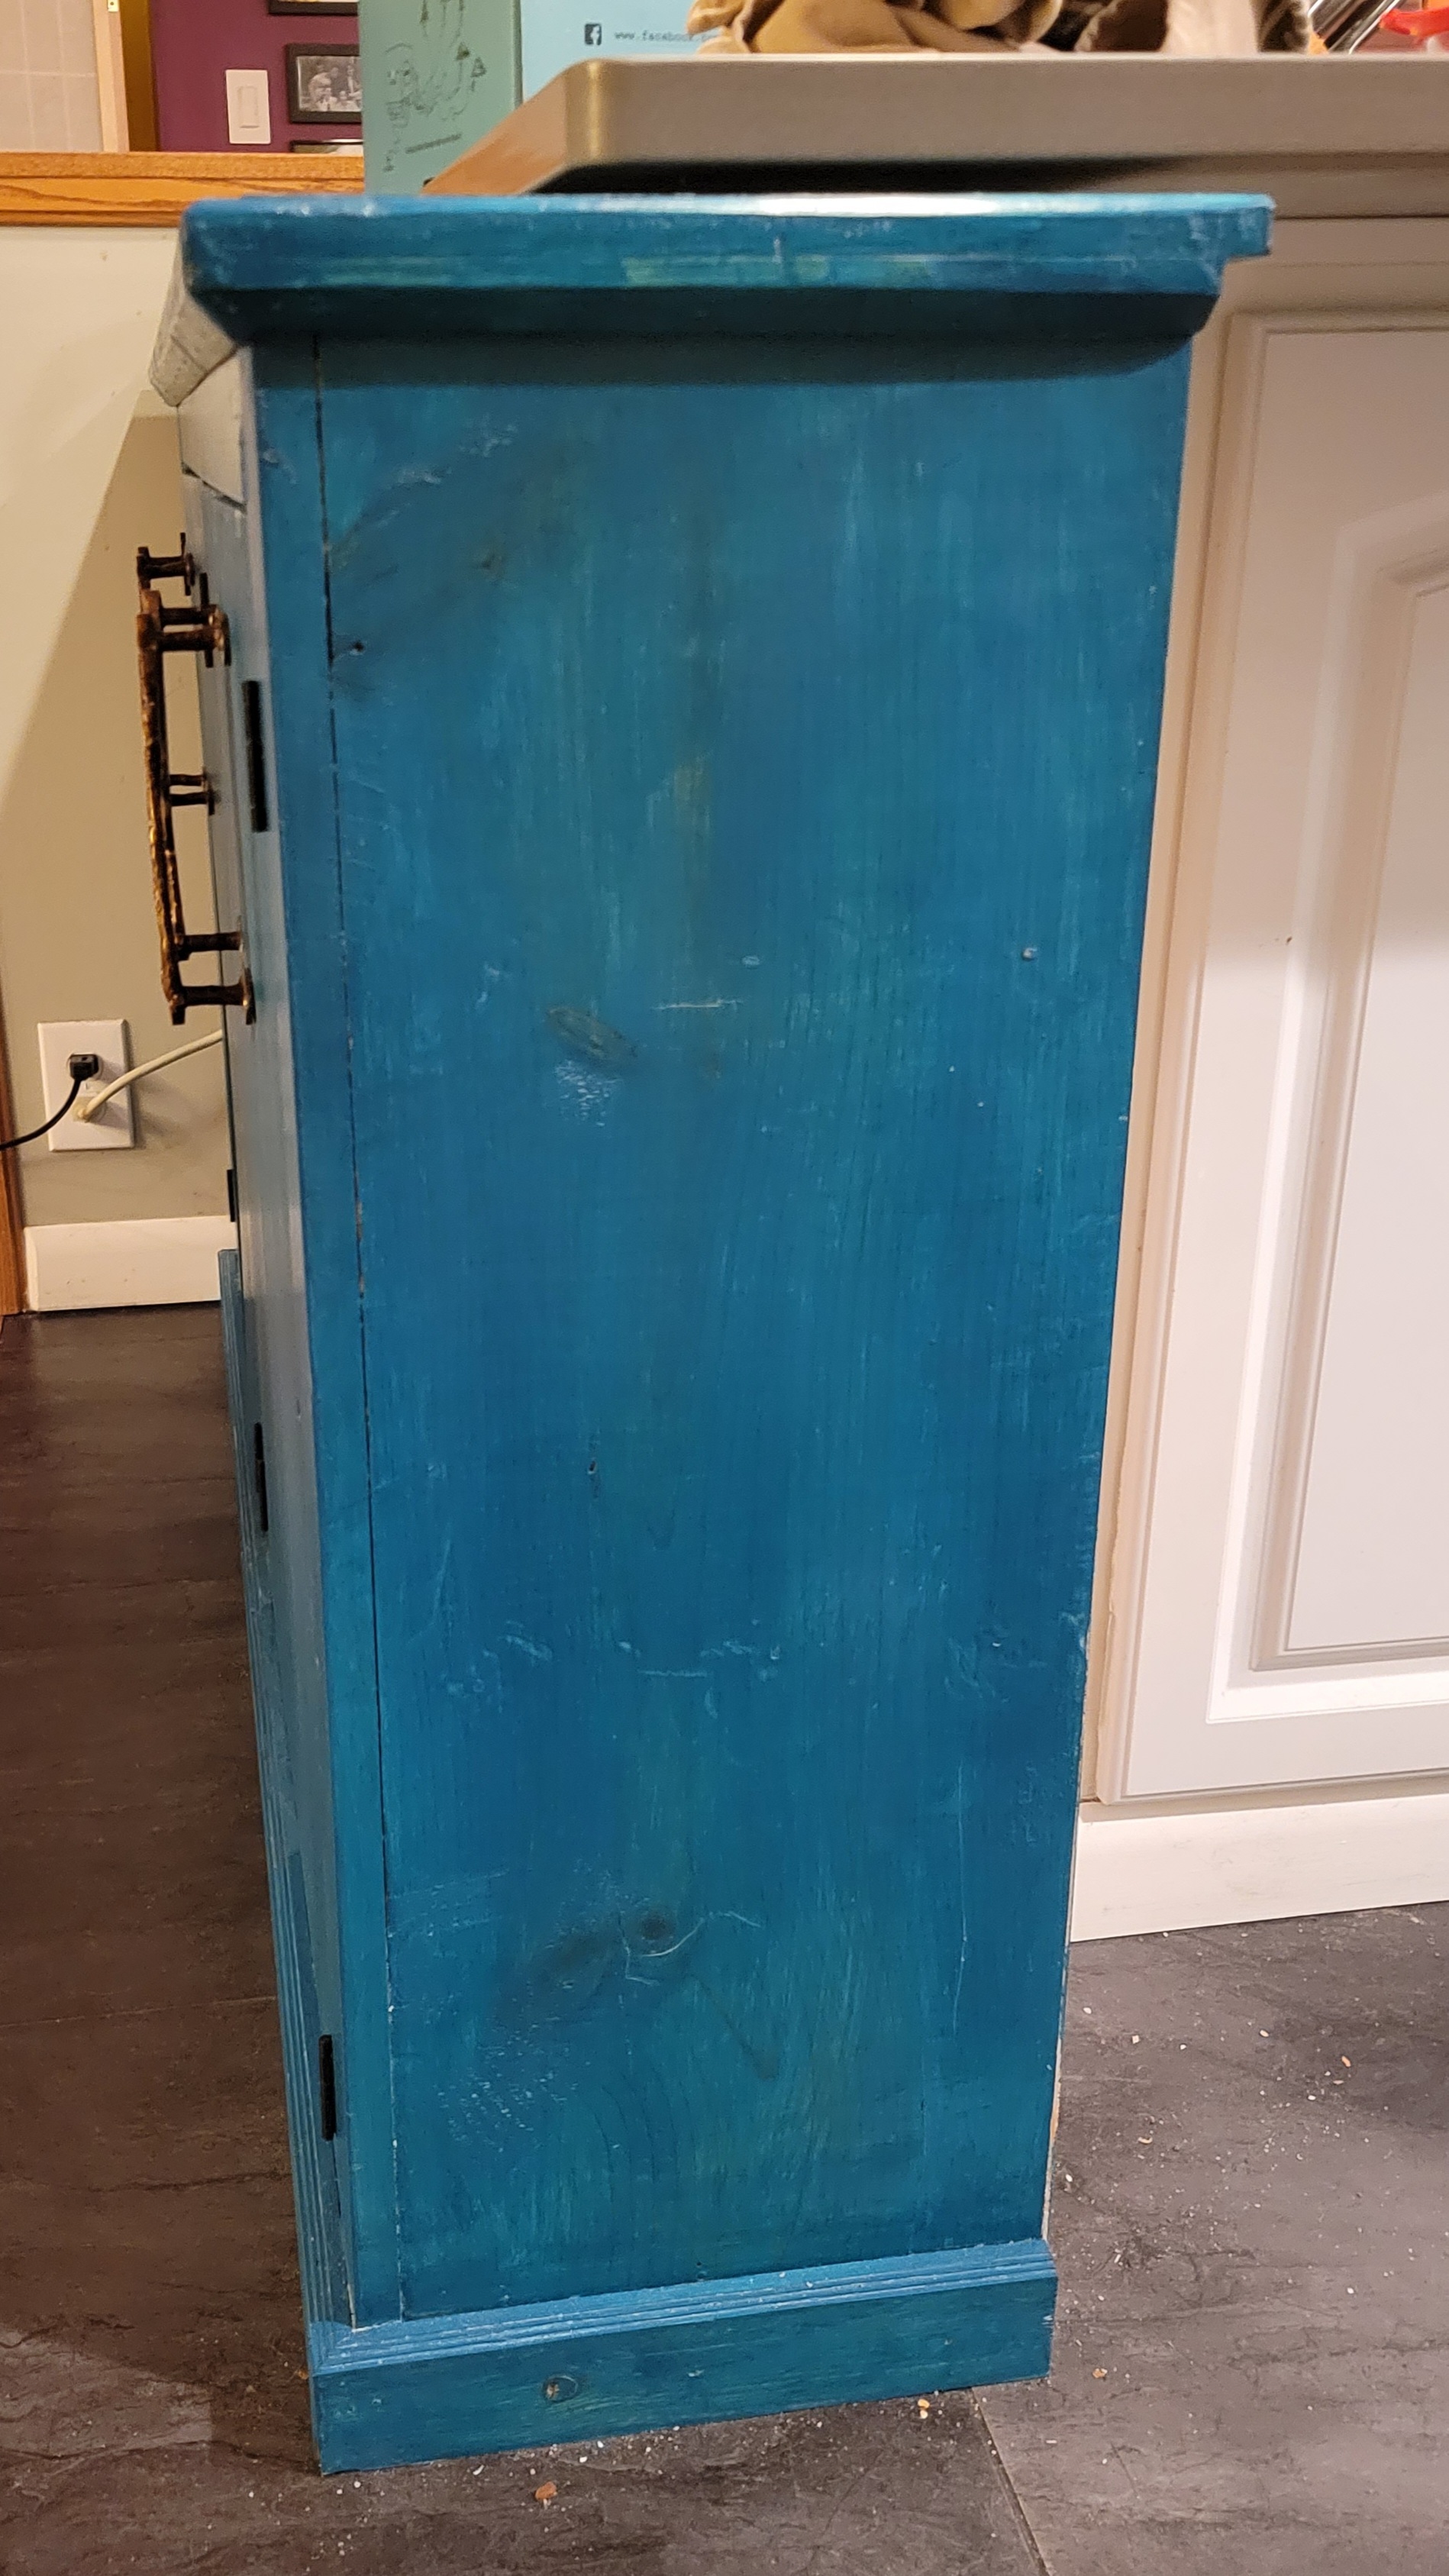
This cupboard plan is from Rex Krueger (web site, yootoobs), whose YT channel has been a big help to me in dialing back my Hobby Hipster Snob tendencies that always end up costing me a lot of fucking money that I didn’t need to spend. His original plan (on his web site, it’s like 5 bucks I think) has this cupboard at roughly 2 feet high by 4 feet wide by a foot deep. I wanted to build this specifically to put under the edge of my kitchen island, so I scaled up and added an extra shelf, measuring specifically to fit a couple of my larger kitchen appliances. Mine ended up around 34" high by 54" wide by just over 13" deep.
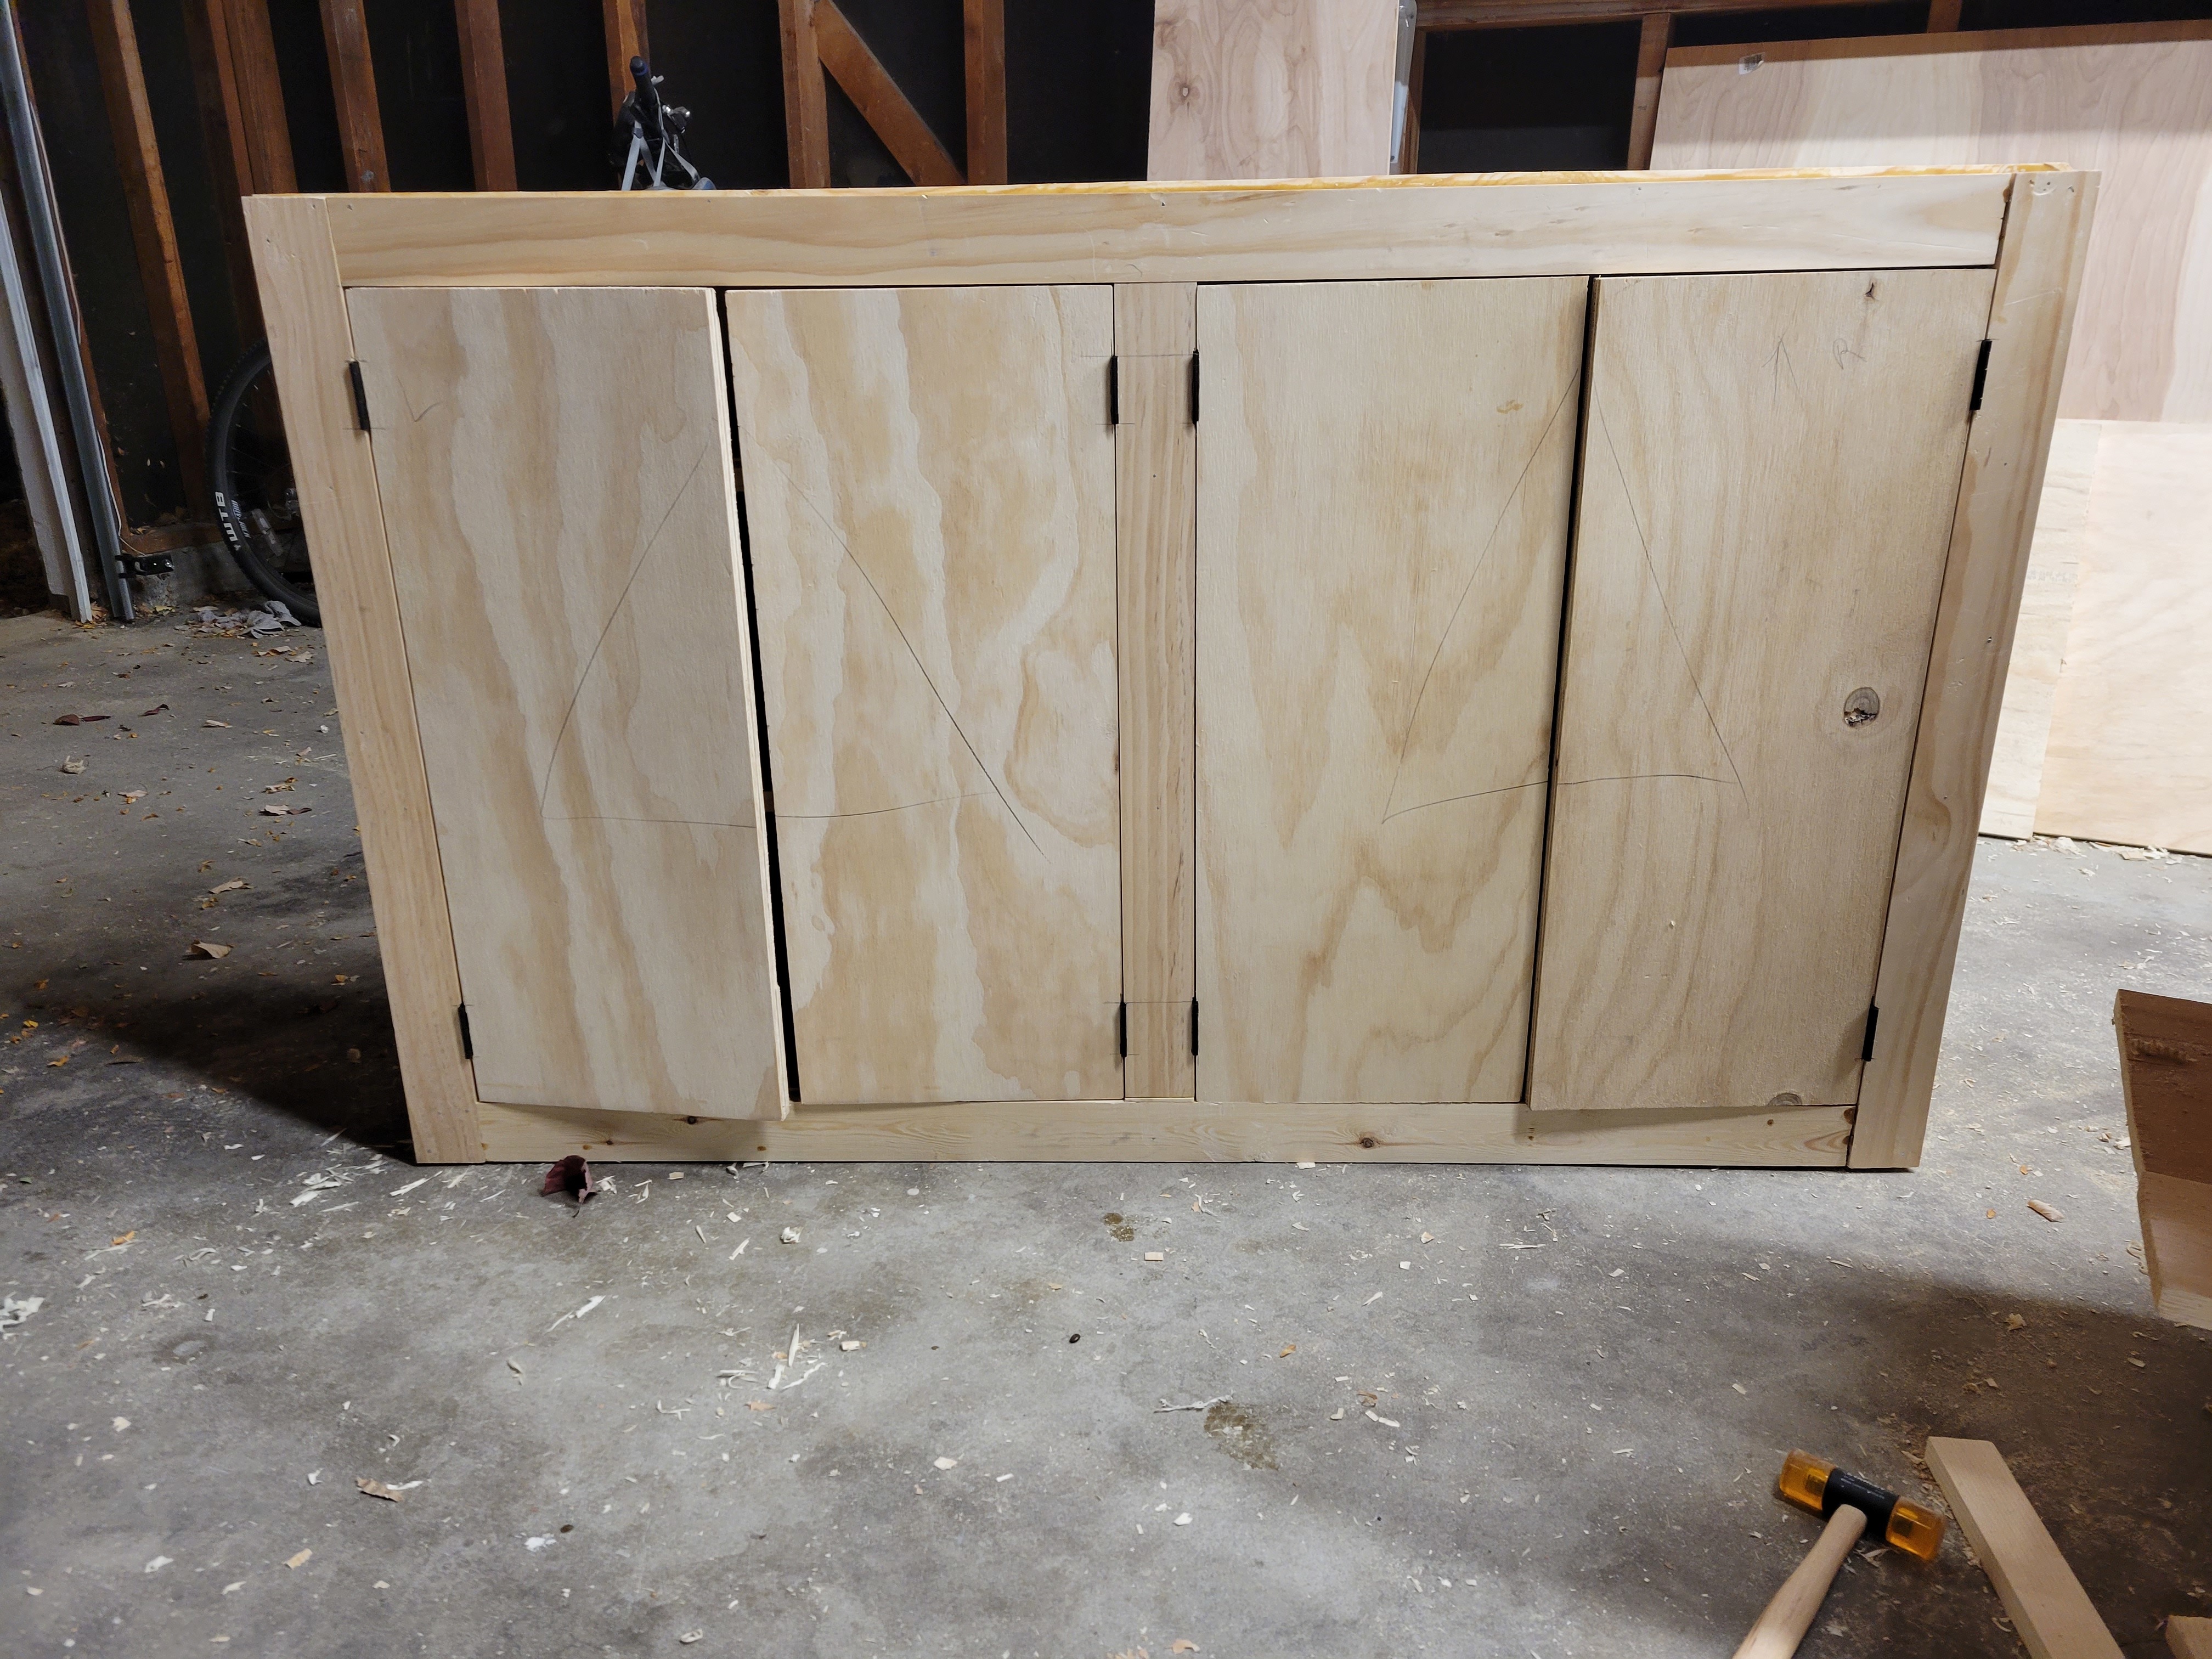
Scaling up necessitated a couple of changes, most notably making double doors on each side instead of a single door. The original plan calls for one door on each side, but these doors would have been wayyyy too big and would have probably ended up sagging. Also hitting me in the face when I went to get the fuckin dutch oven out of the thing because I am, as noted, clumsy (see point 5, above).
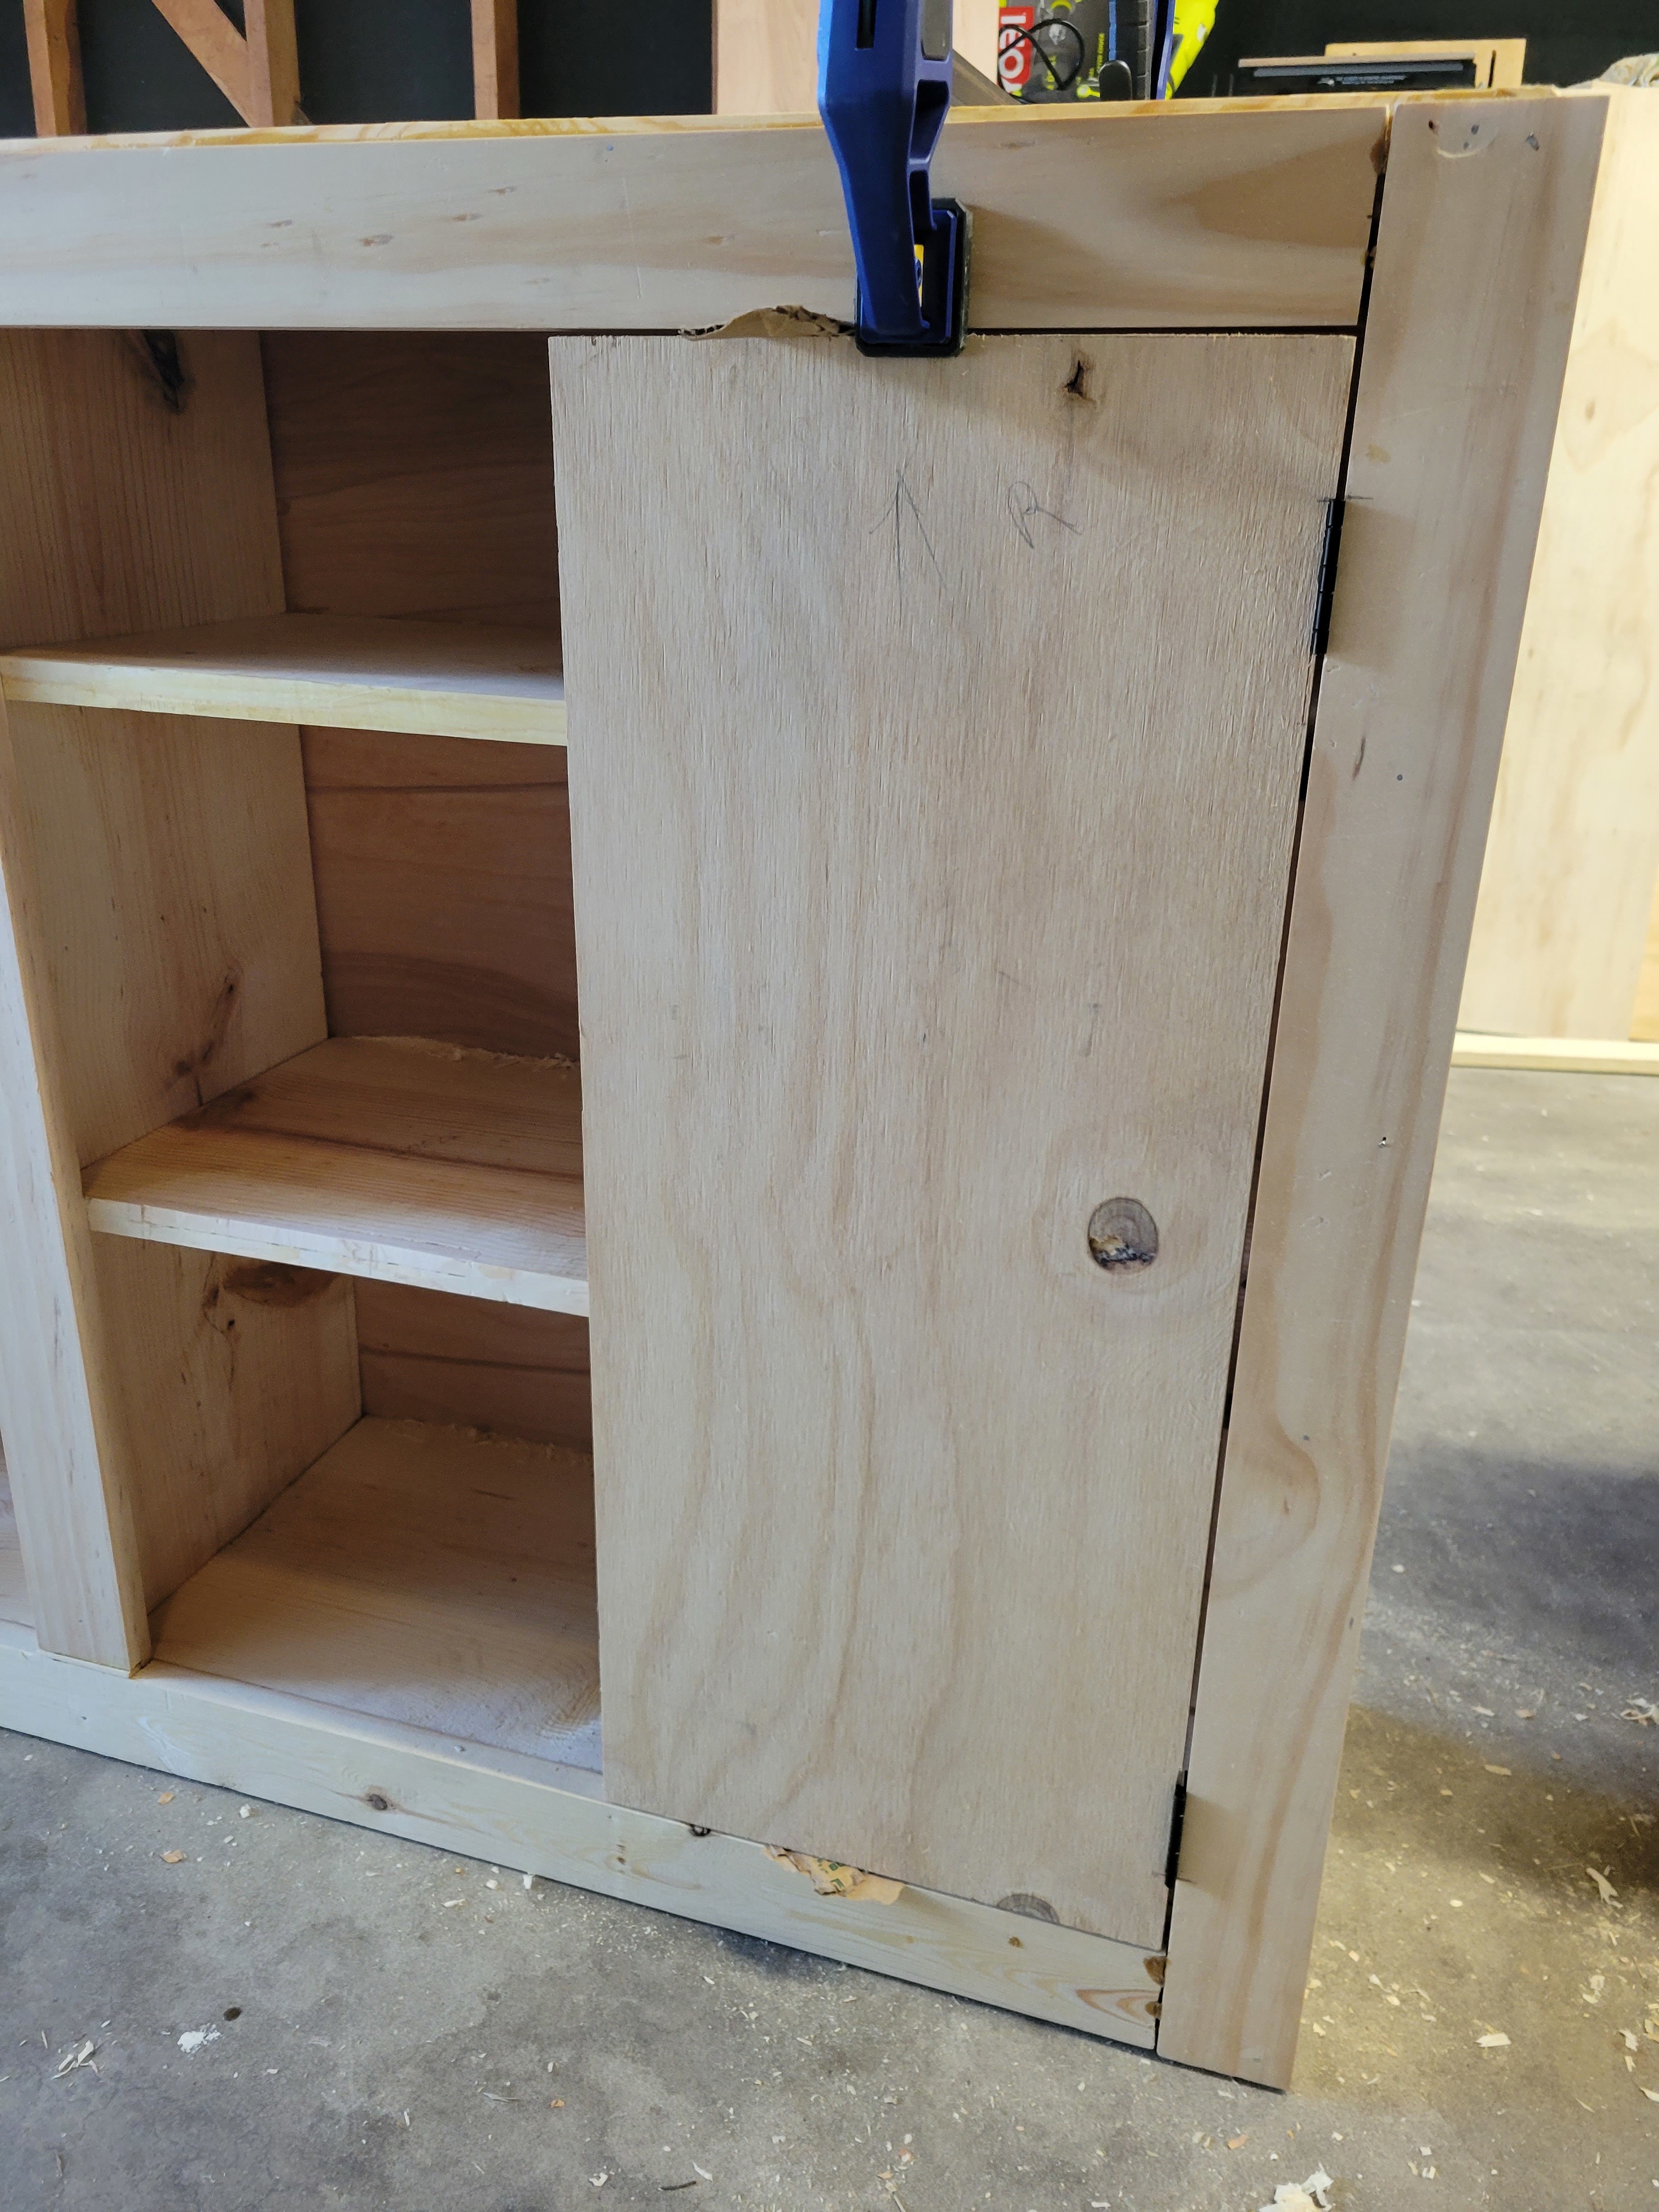
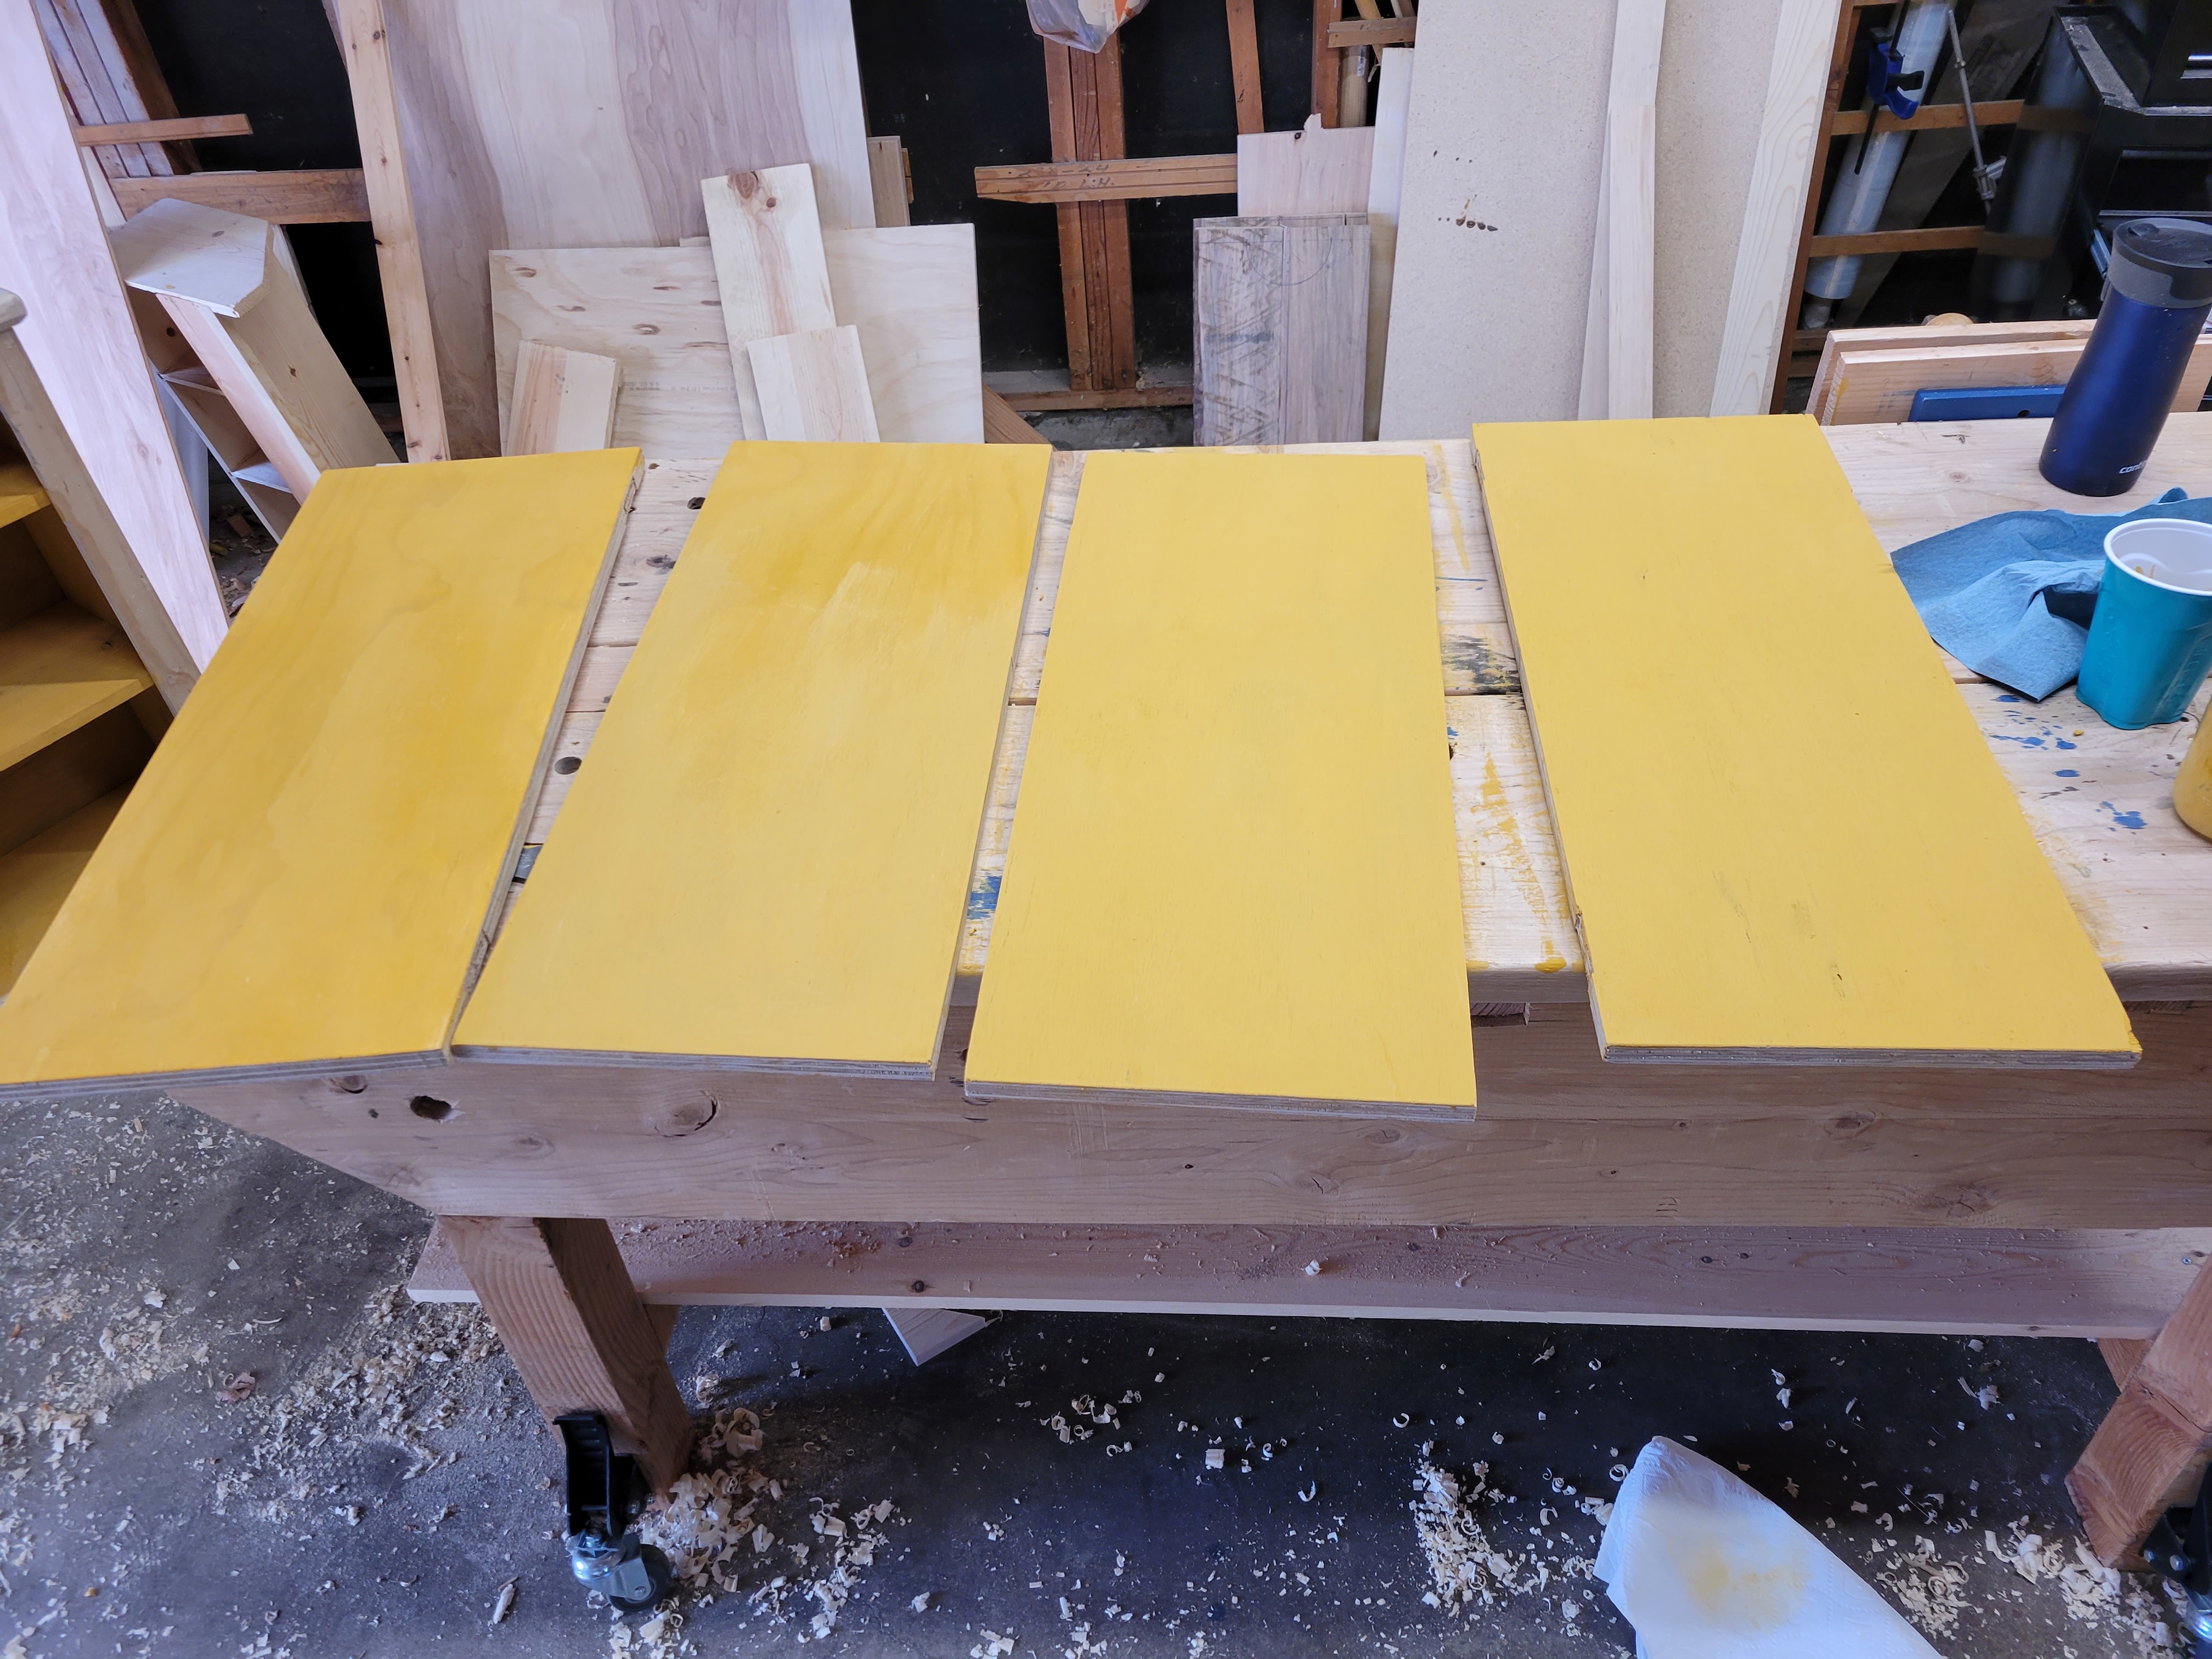
I ended up making the doors out of ¾" plywood instead of gluing up boards to make panels because the idea of doing that much gluing up with bullshit big box store pine made me want to fling myself and the cupboard out a window. To prevent defenestration (a word I learned from my children when they were young) I used the plywood. It’s better this way.
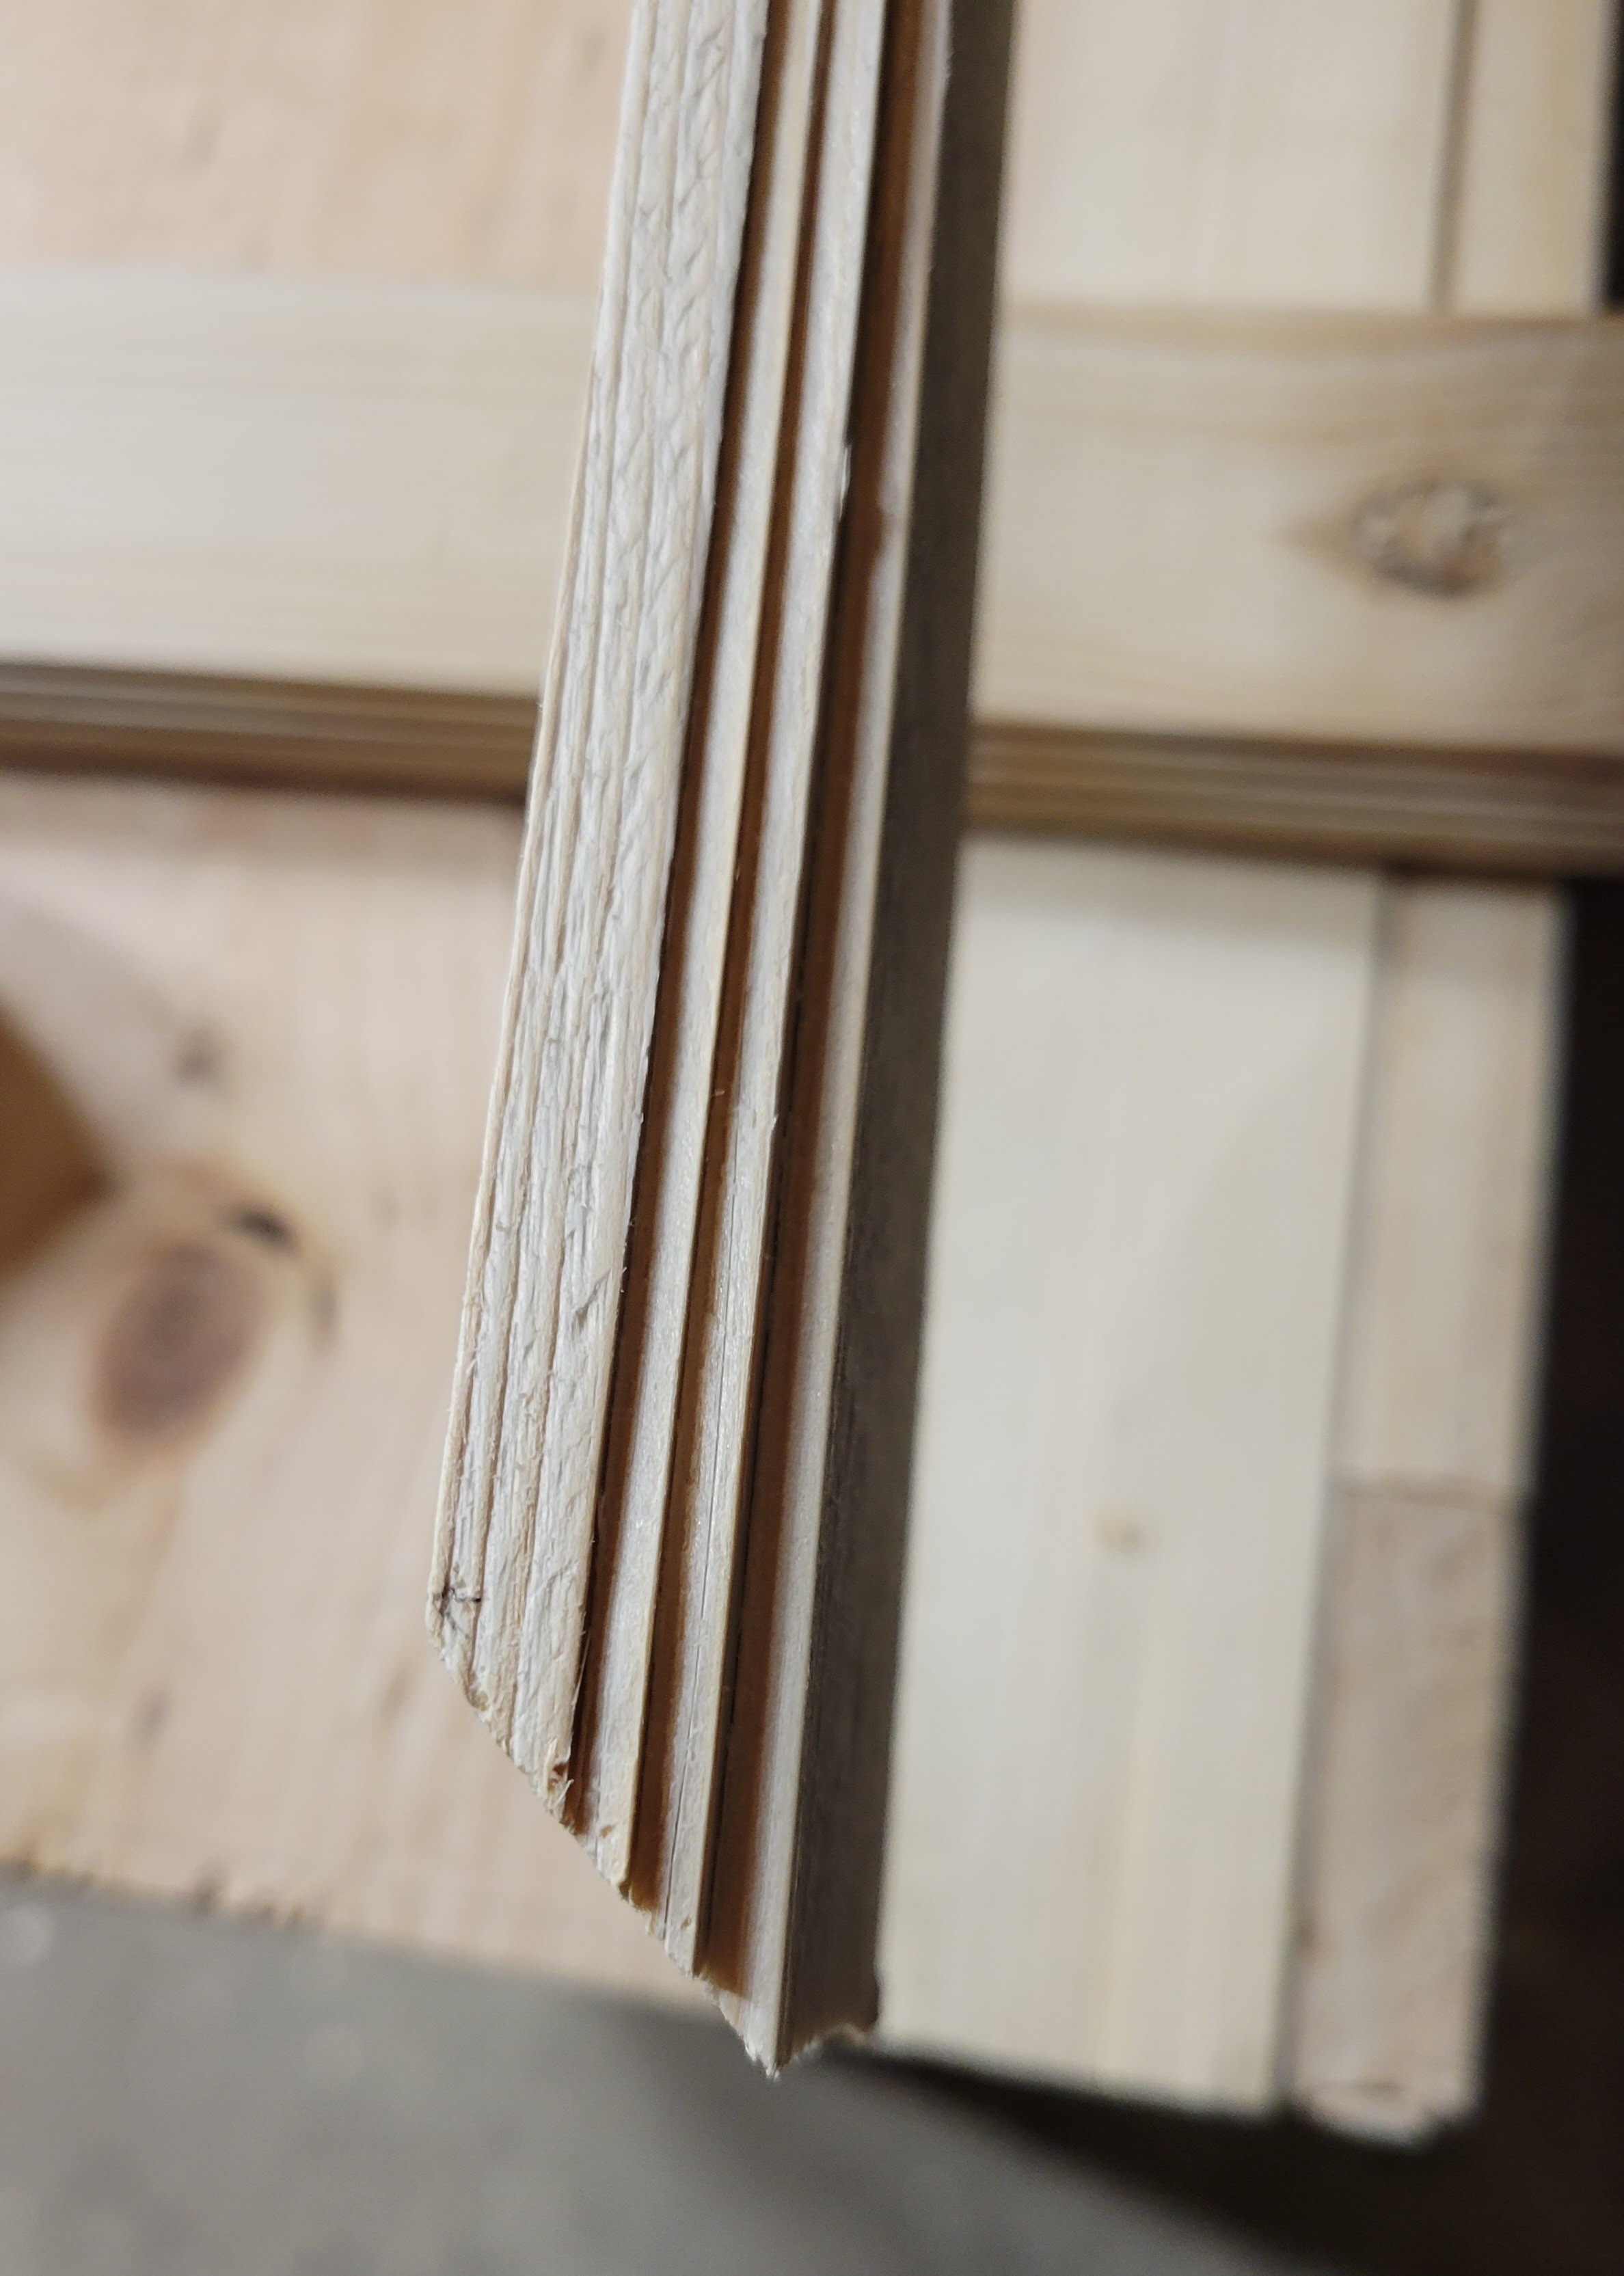
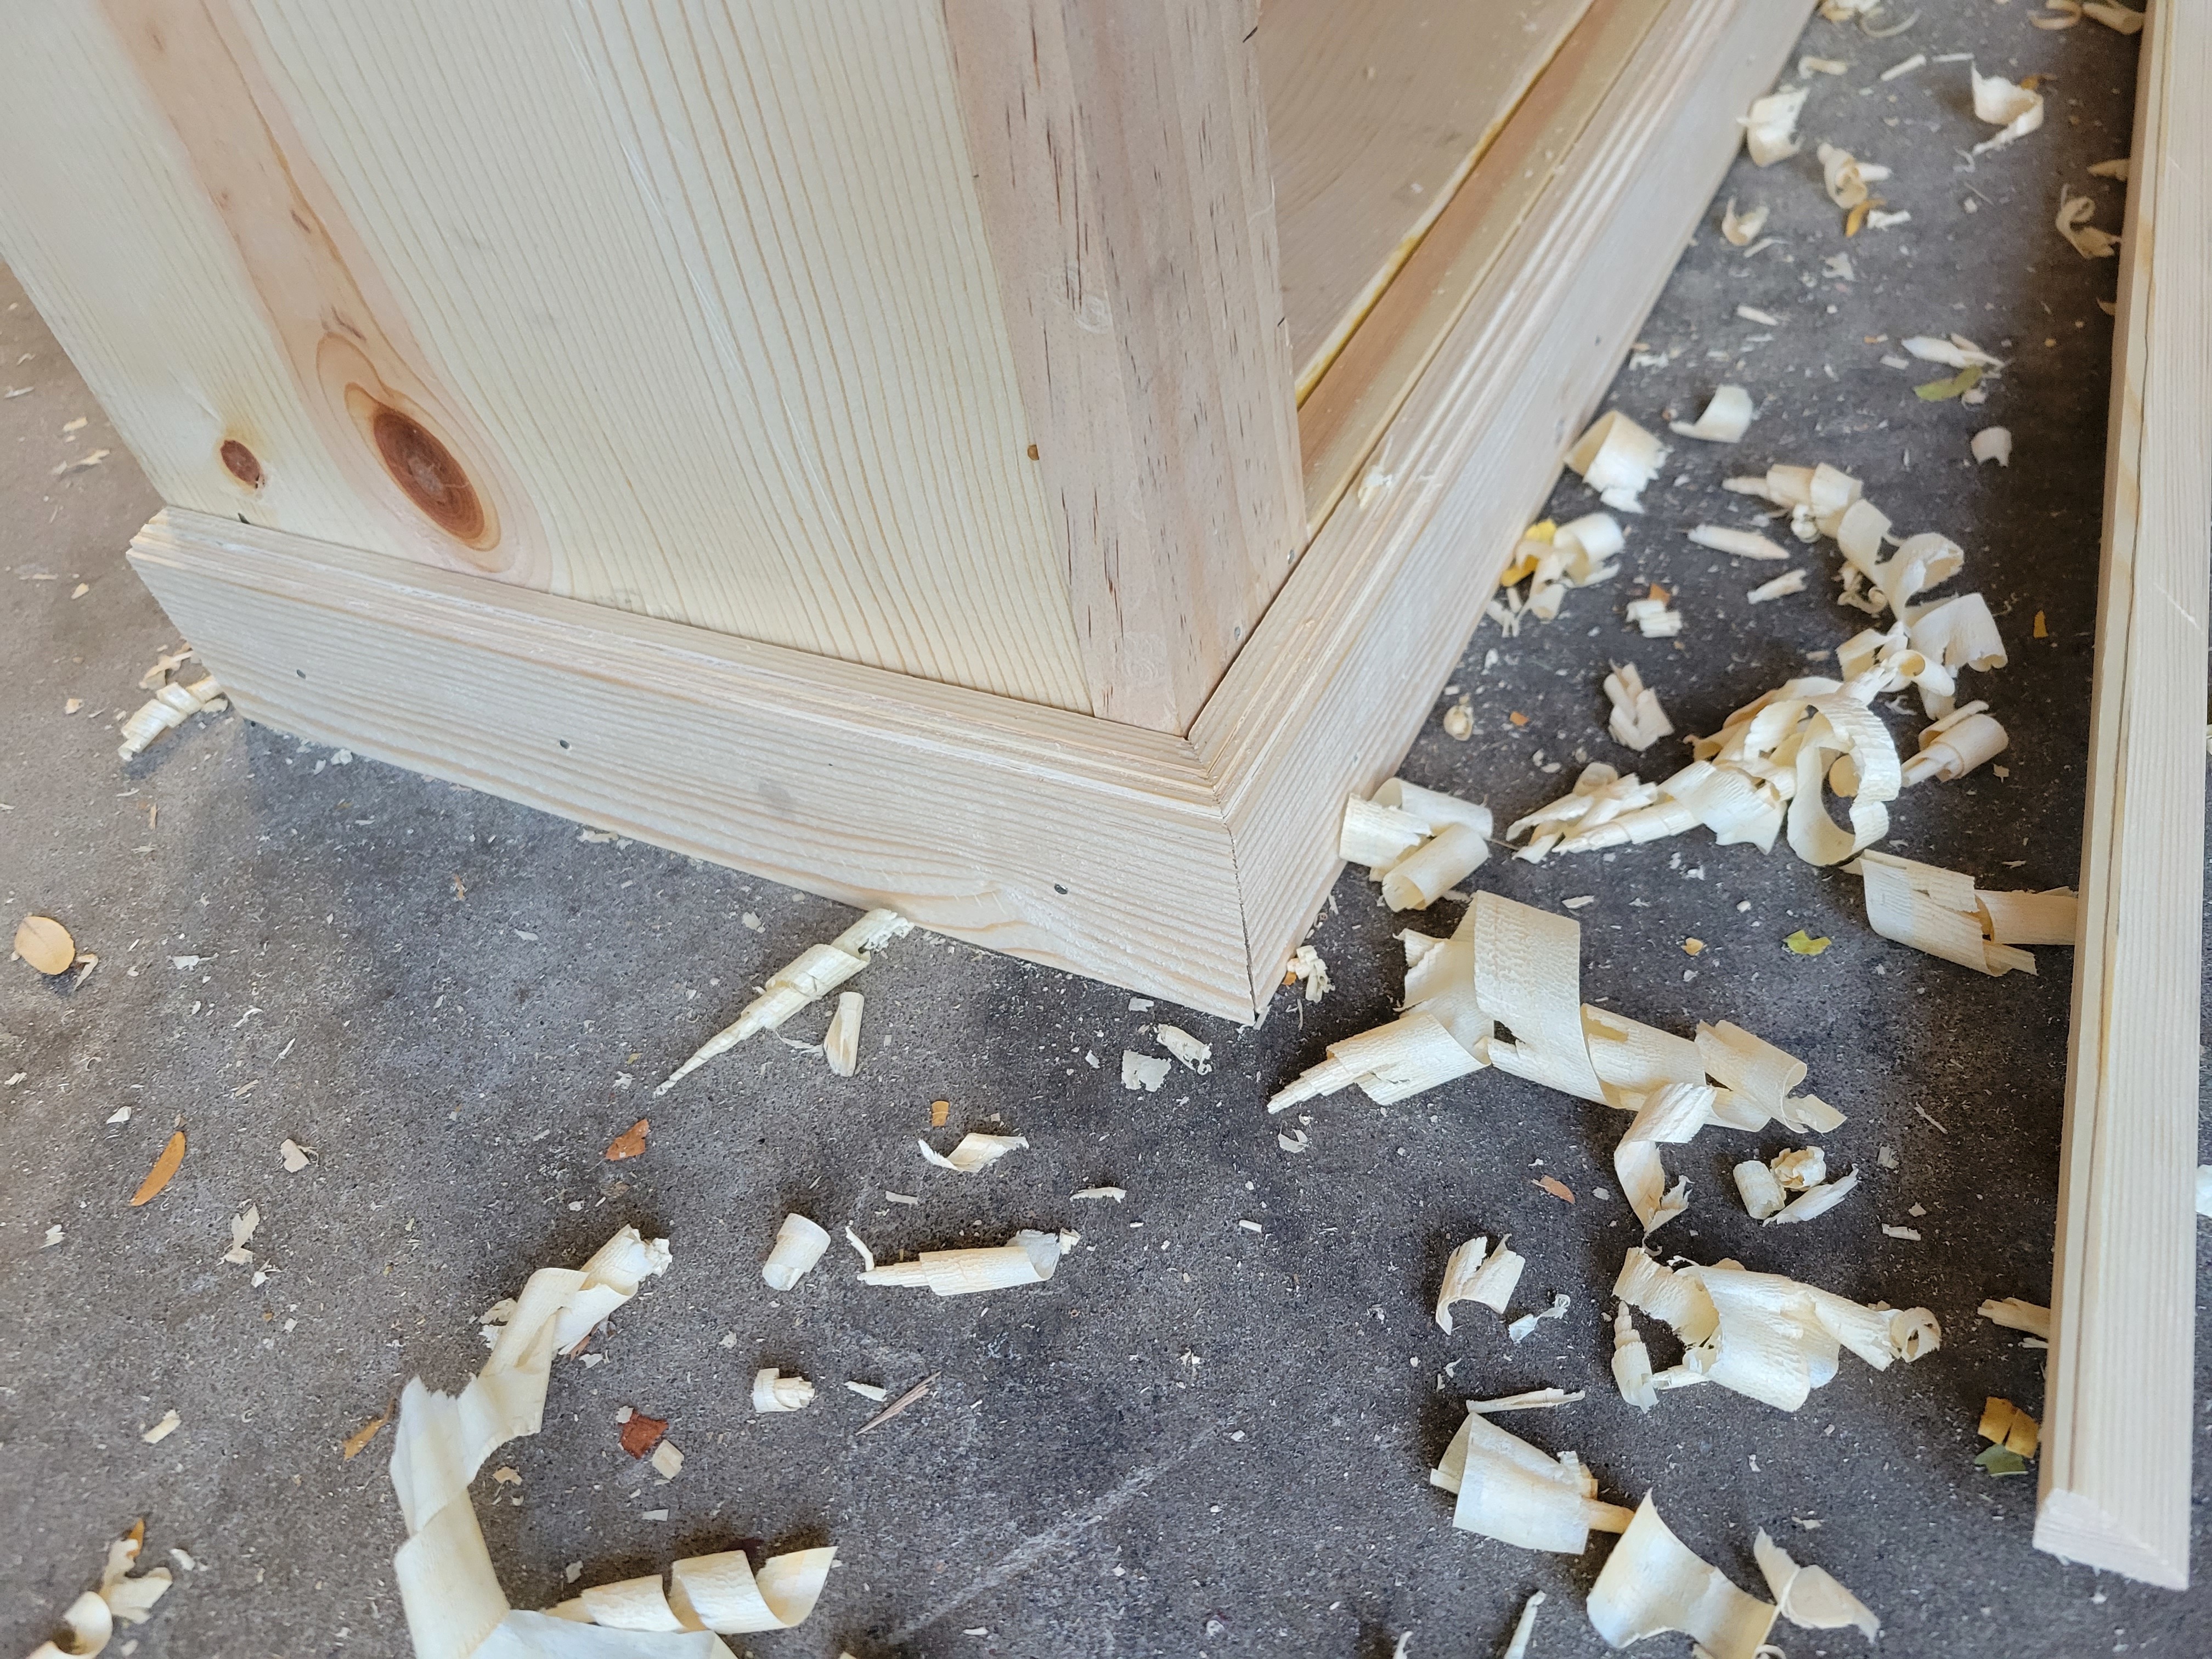
I also made my own molding, as per Rex’s video. He suggests you come up with your own profiles and whatnot, but I was Tired and went with his instead. I don’t own molding planes and I don’t currently plan to buy any, but he shows you how to make some basic molding profiles using a rabbet plane and a regular hand plane, both of which I own, so I used those. It was fun! I like using the rabbet plane, even if it is a Stanley 78 that clogs after two passes. It’s an American tradition to use a Stanley 78 and swear creatively at the inevitable clogs. Your grandpa probably did it too. It’s fine.
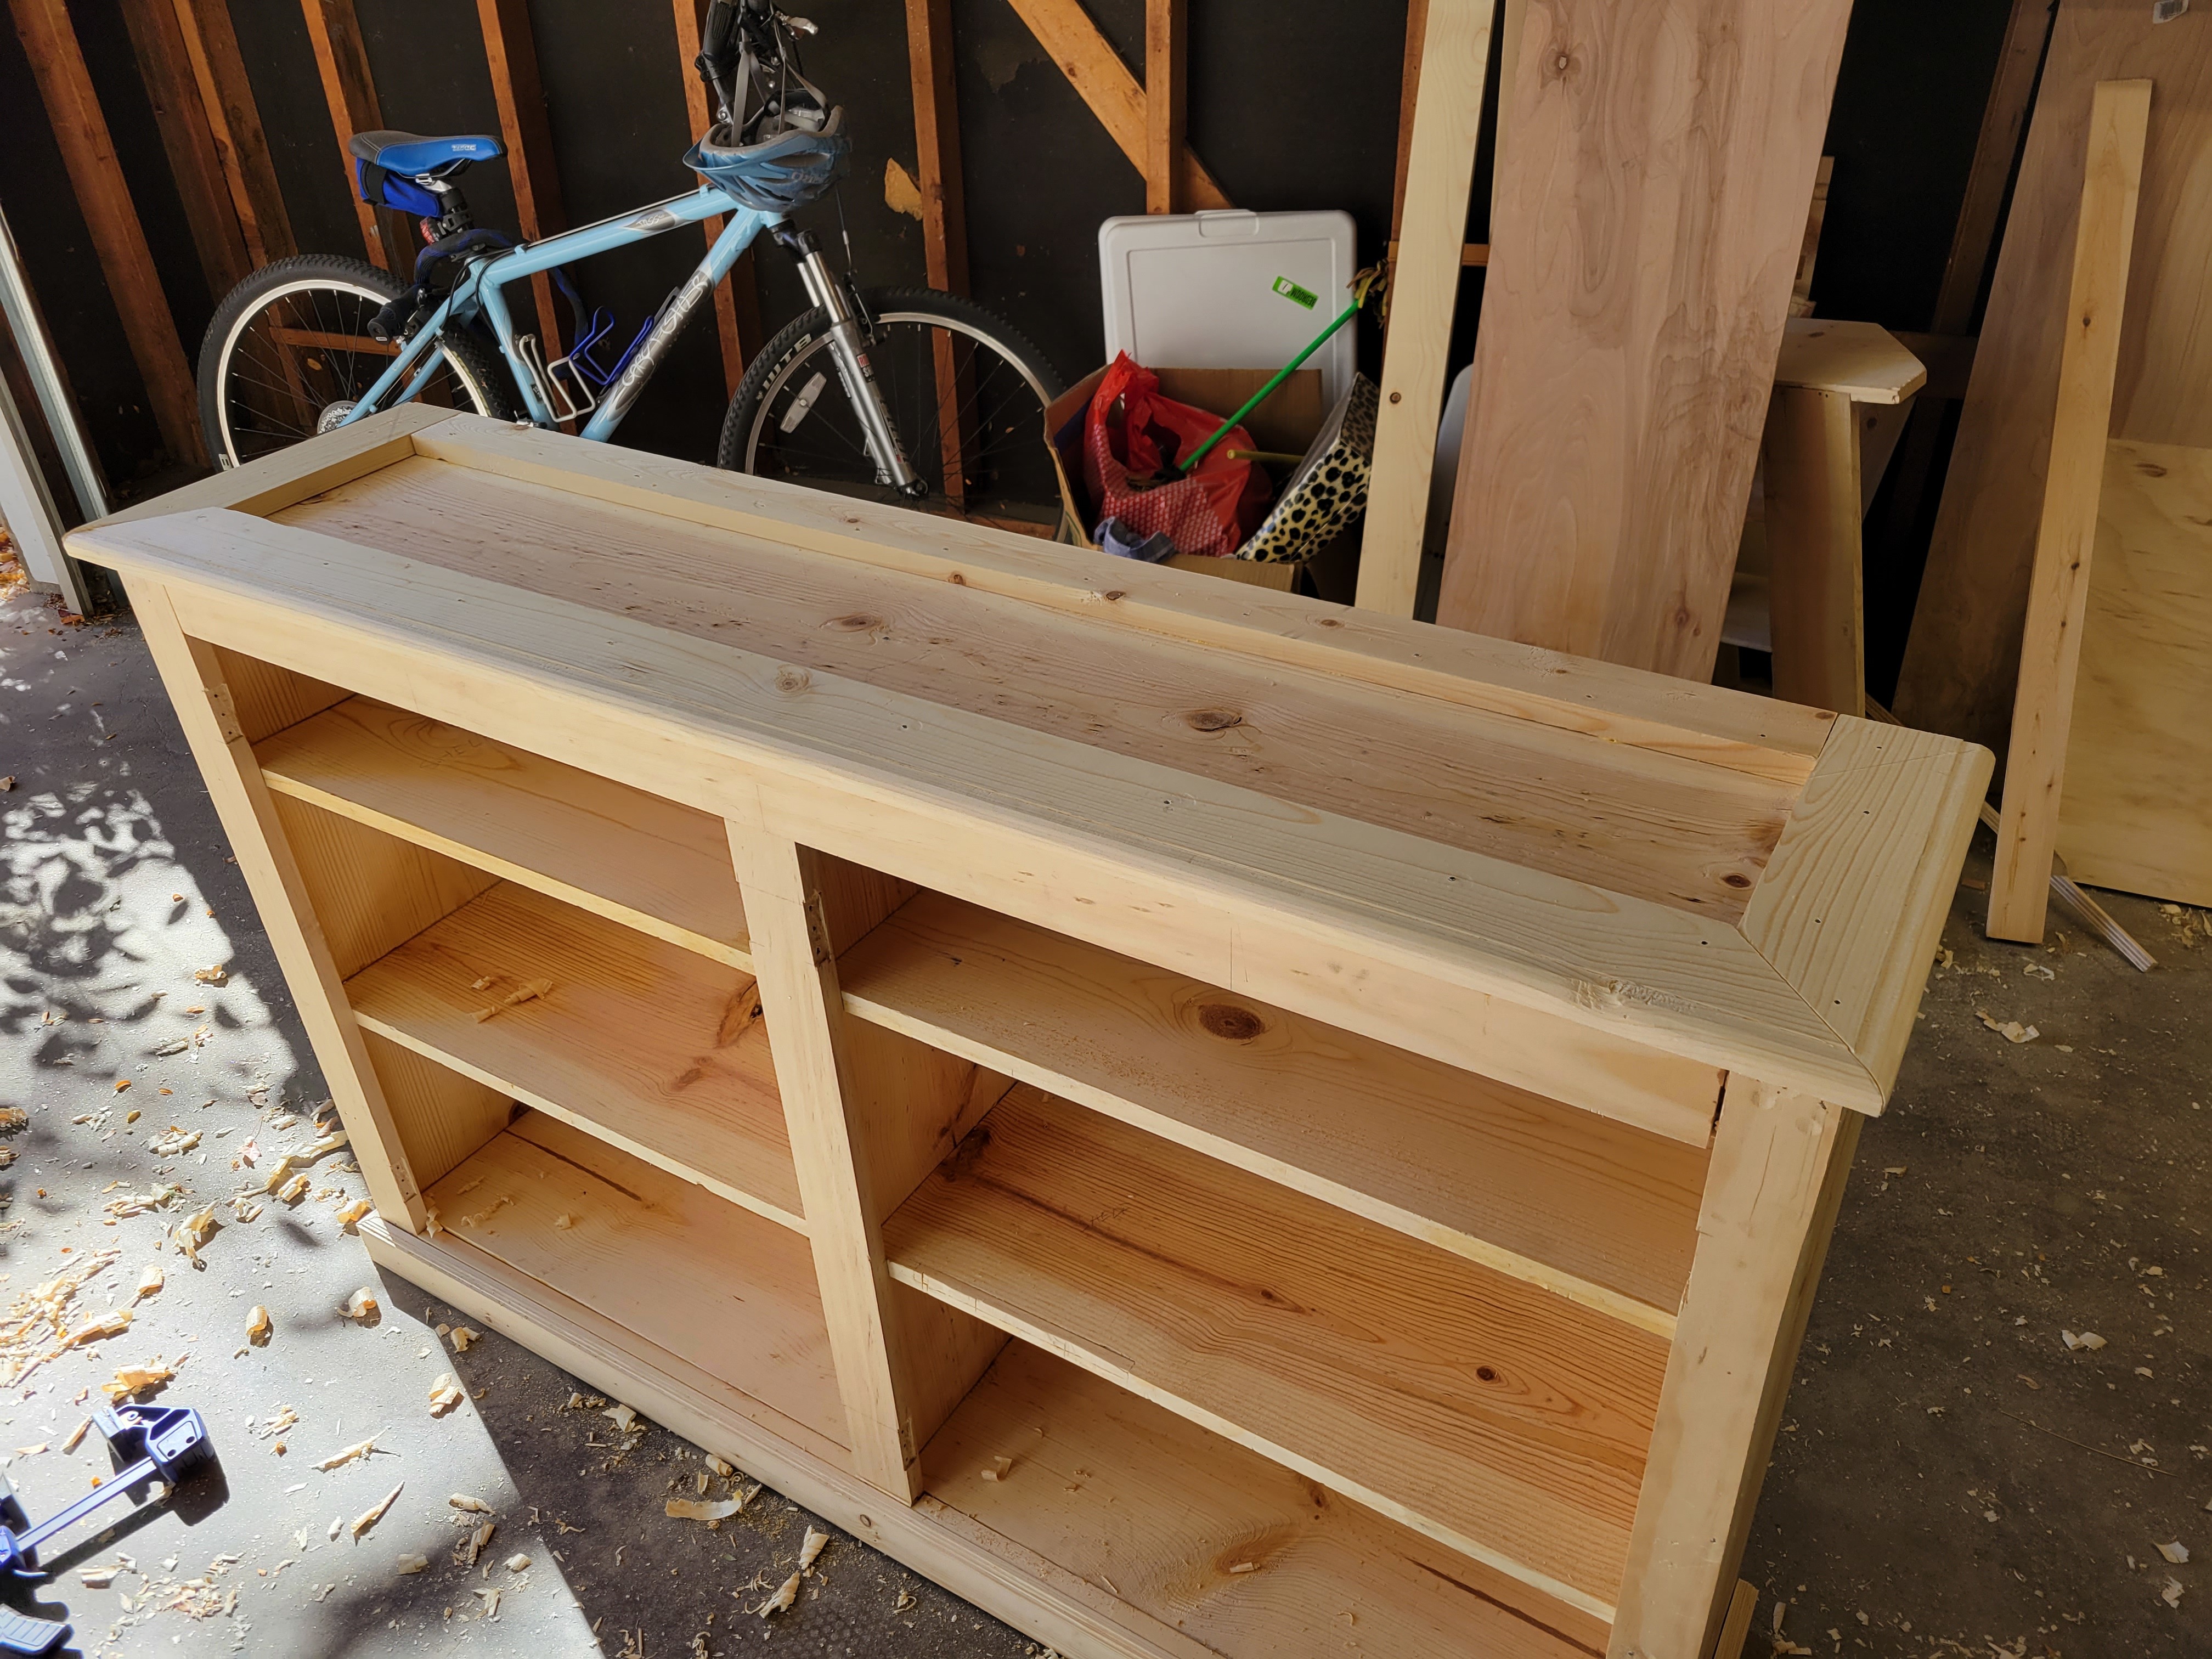
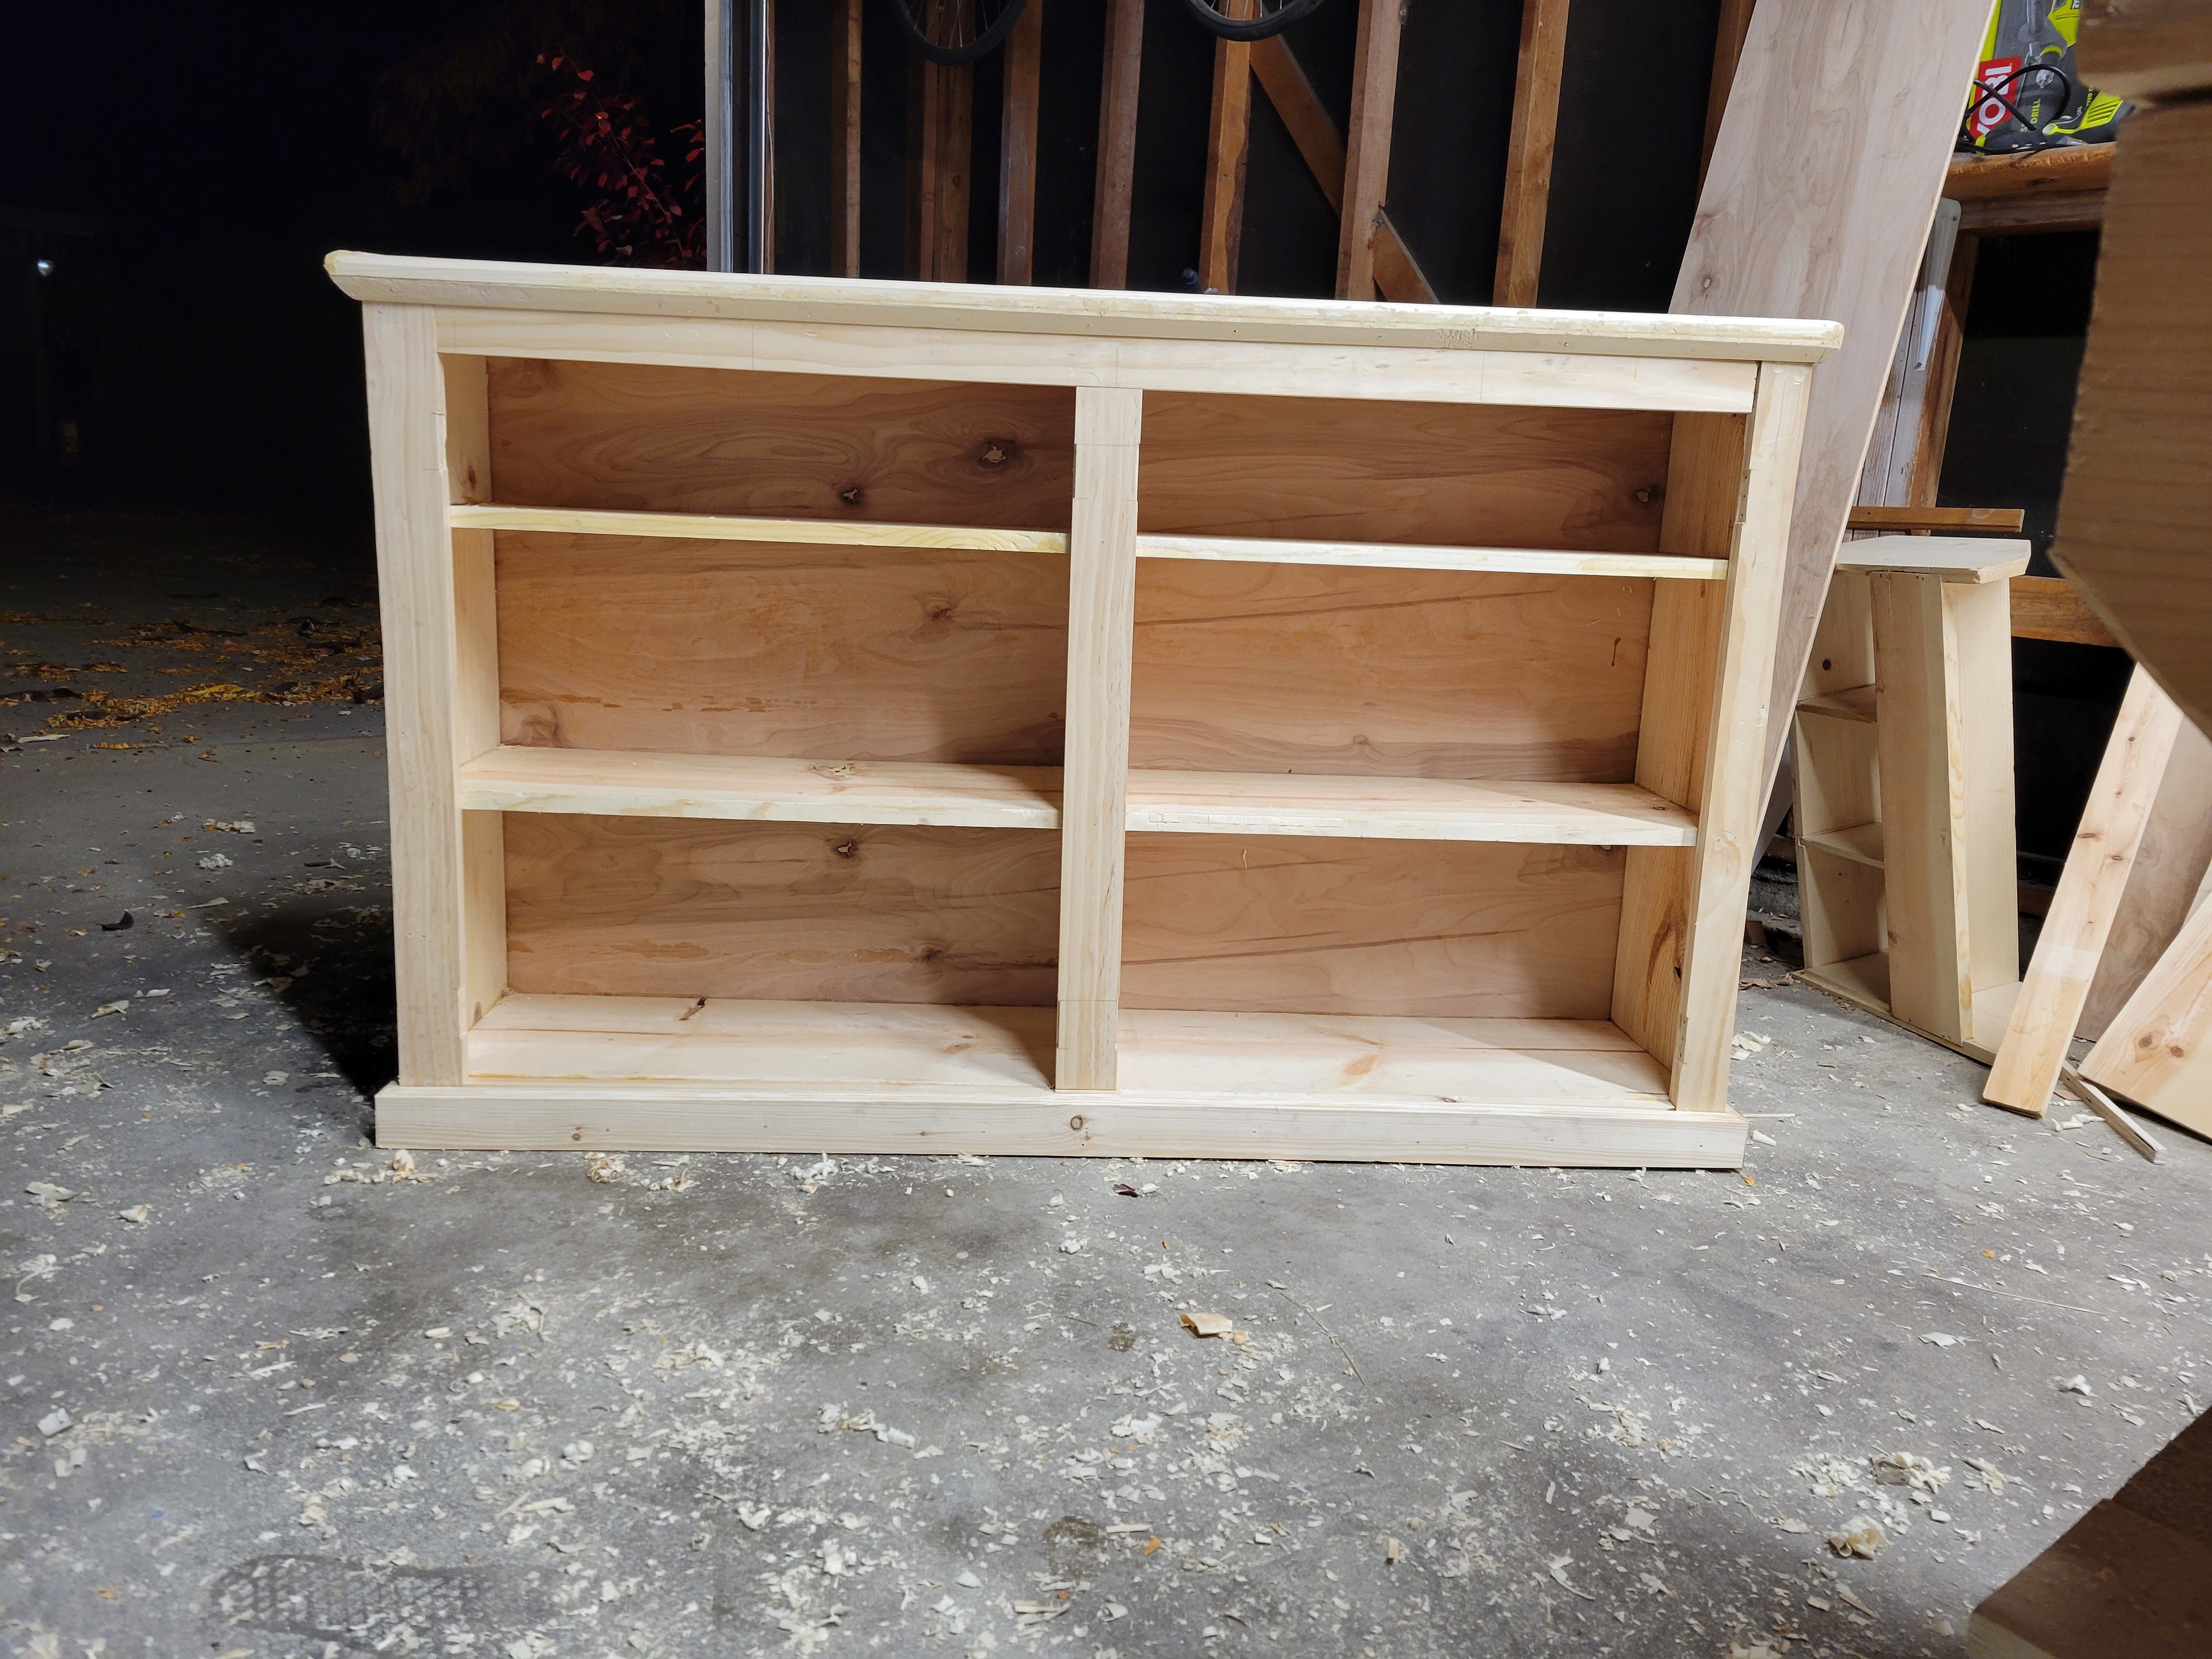
It took a while to get the doors correctly fitted to the cabinet openings and vice versa, because no matter what anyone says, inevitably your case will be just a little bit out of square, especially if you’re me and have been doing woodworking for roughly a year on nights and weekends. Frankly I was relieved the case was square enough to slap on the plywood back and have it line up enough to glue/nail it down. Once I had the face frame on, the molding nailed down and the doors figured out it was paint time!

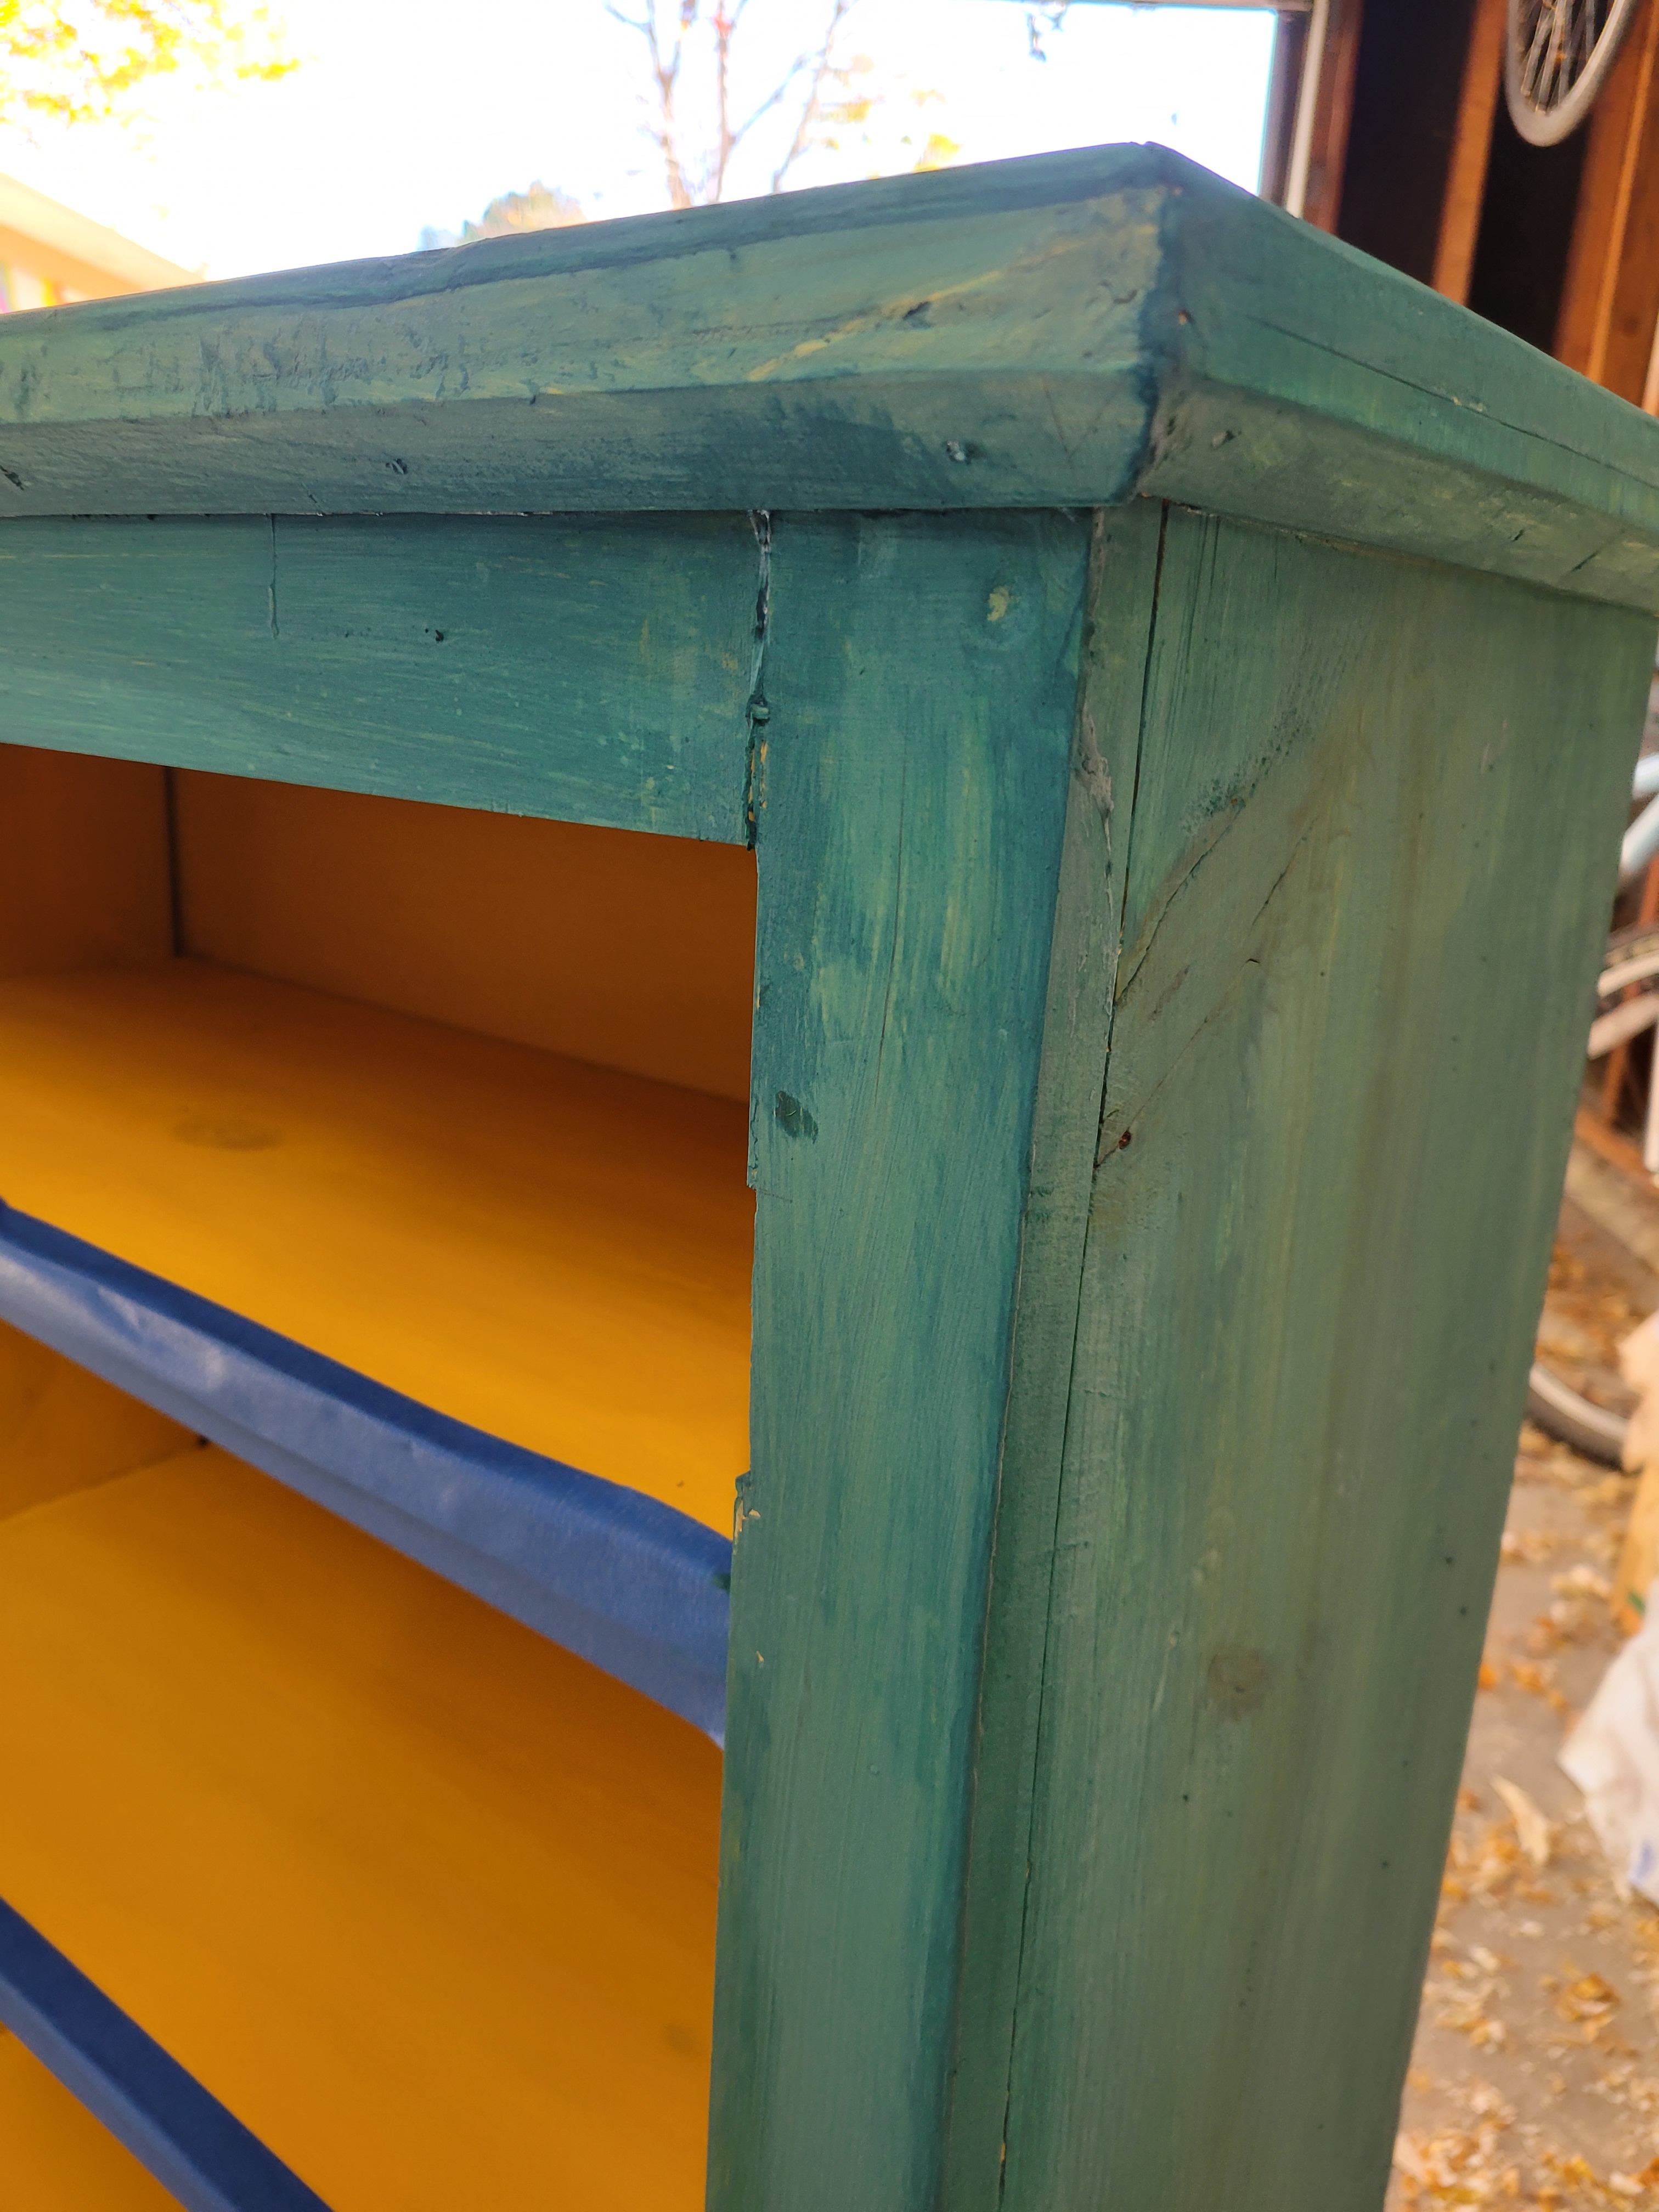
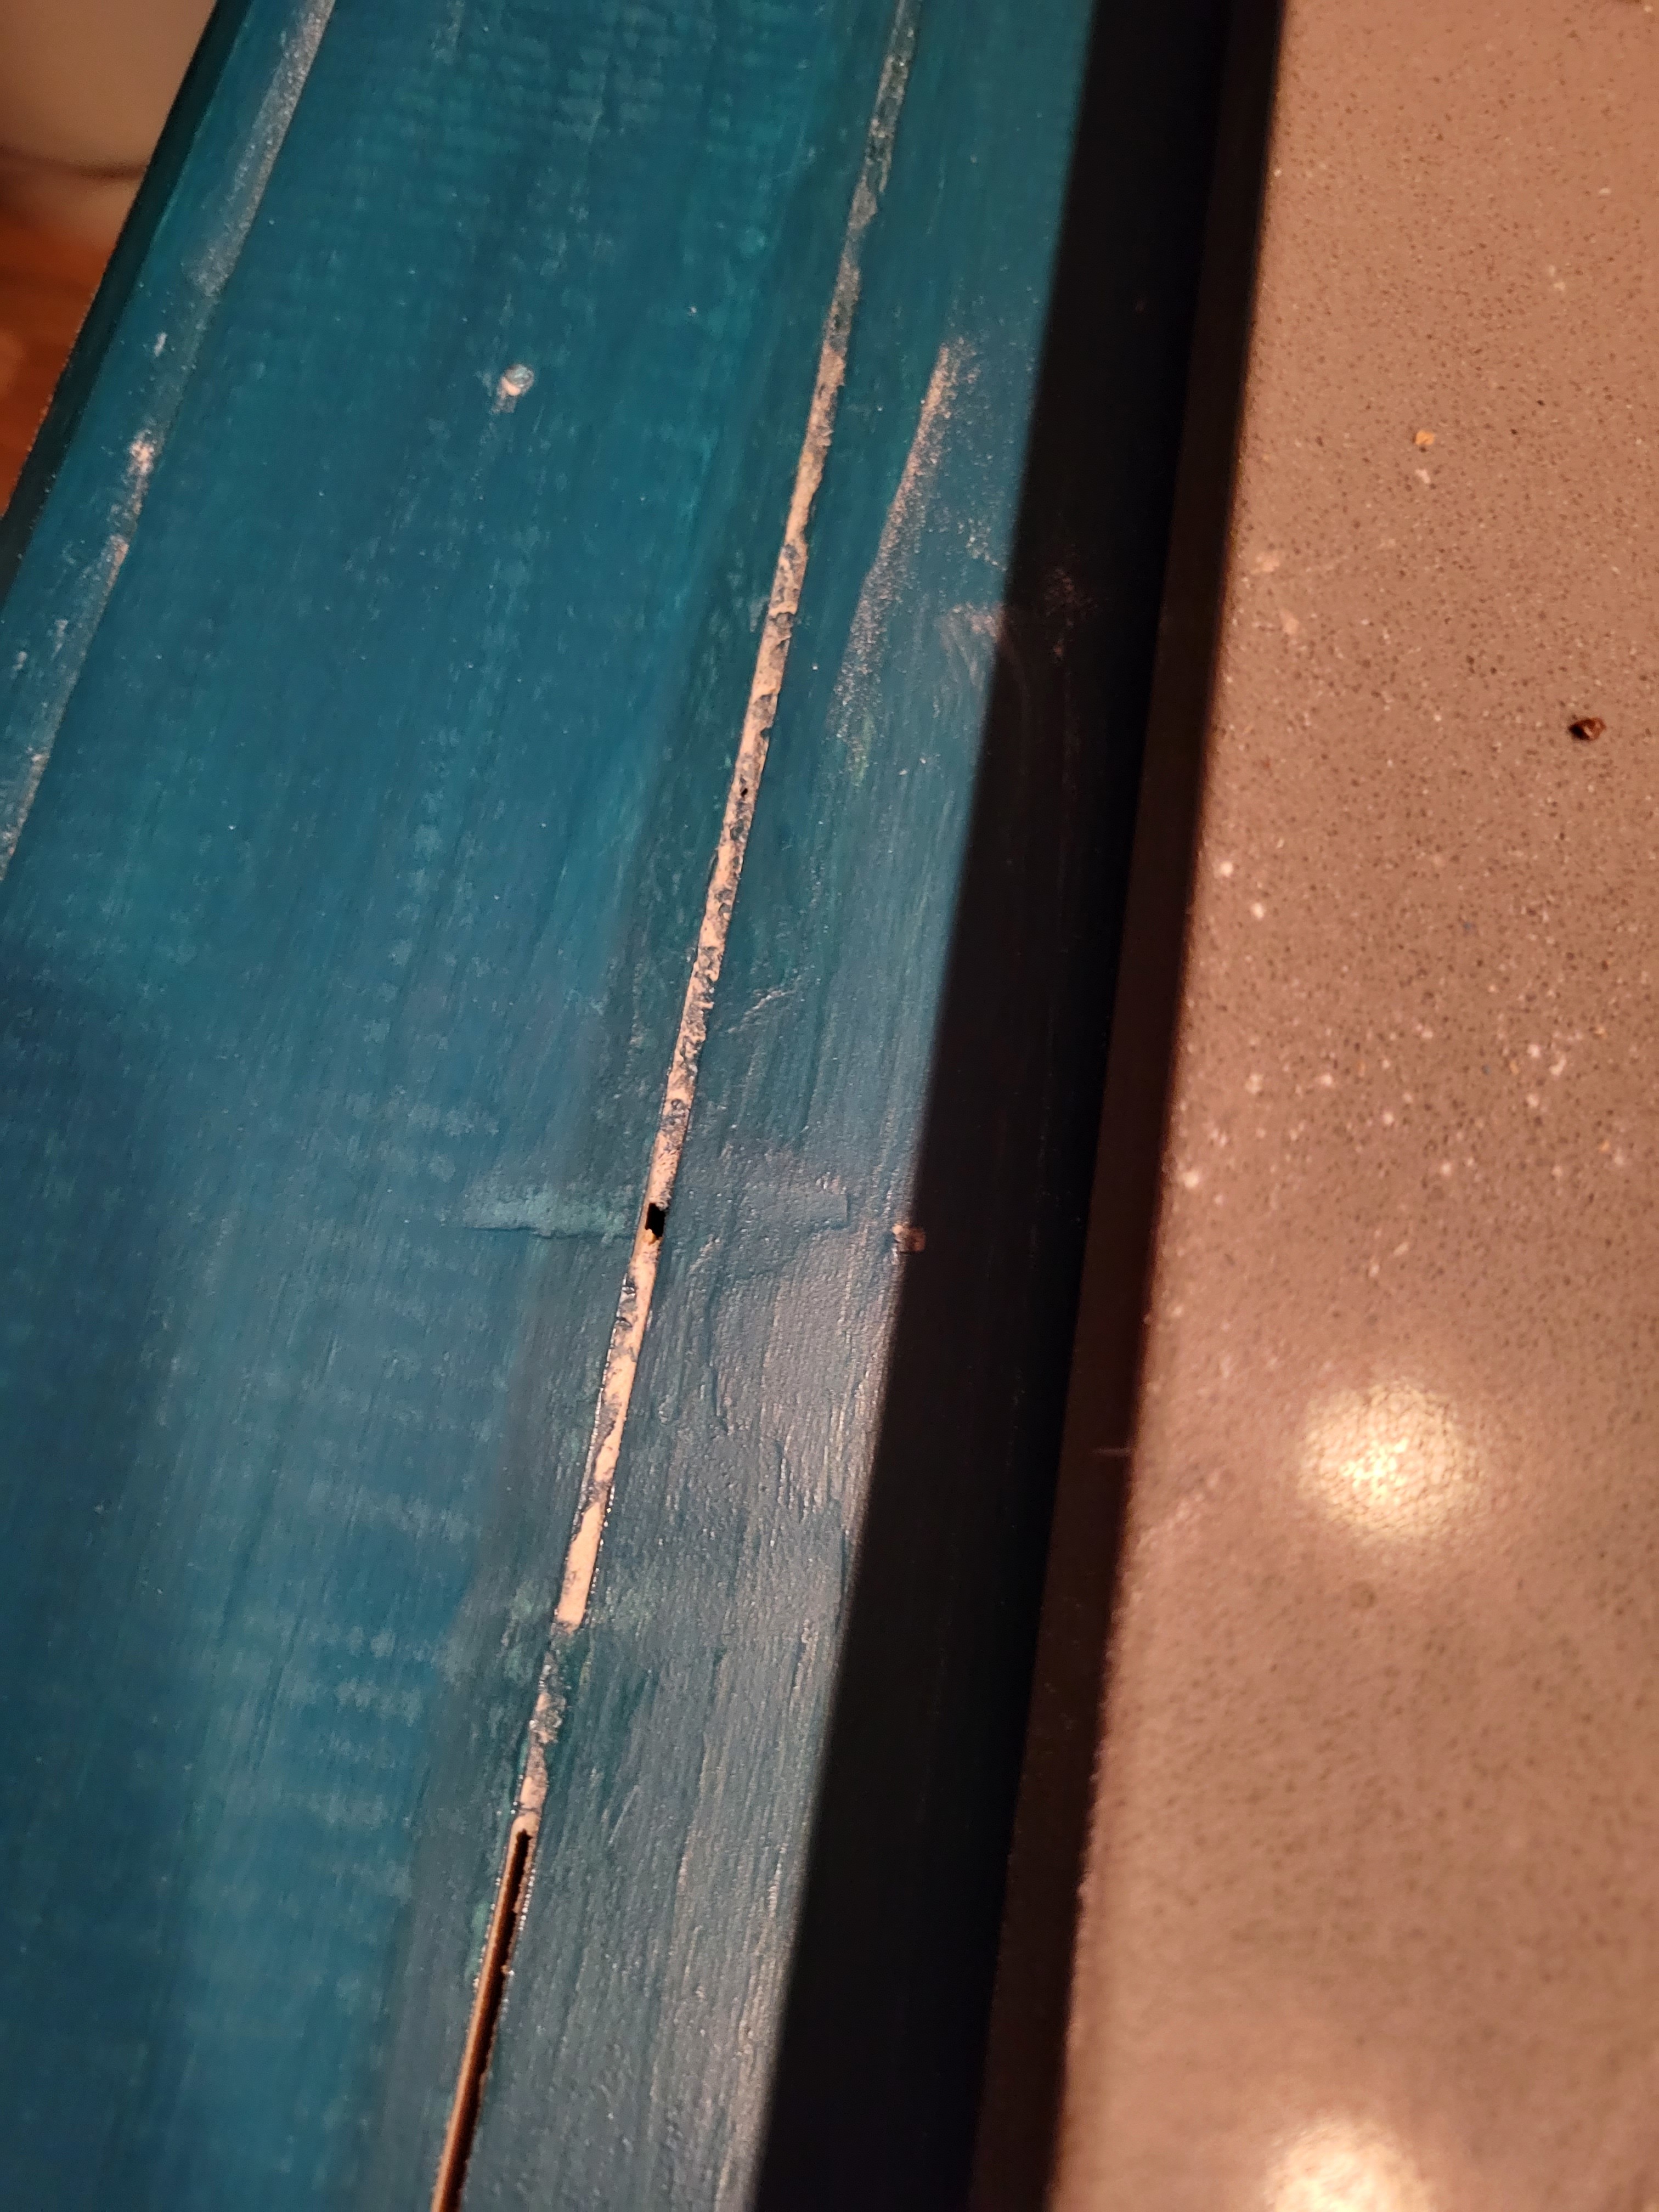
I used milk paint from milkpaint.com - this is an “early American” style cupboard and milk paint seemed like it would work well, plus it’s what Rex uses in the video and I don’t see any reason to make decisions about this kind of thing when the plan guy has already made them for me. So milk paint it is. I did two coats.
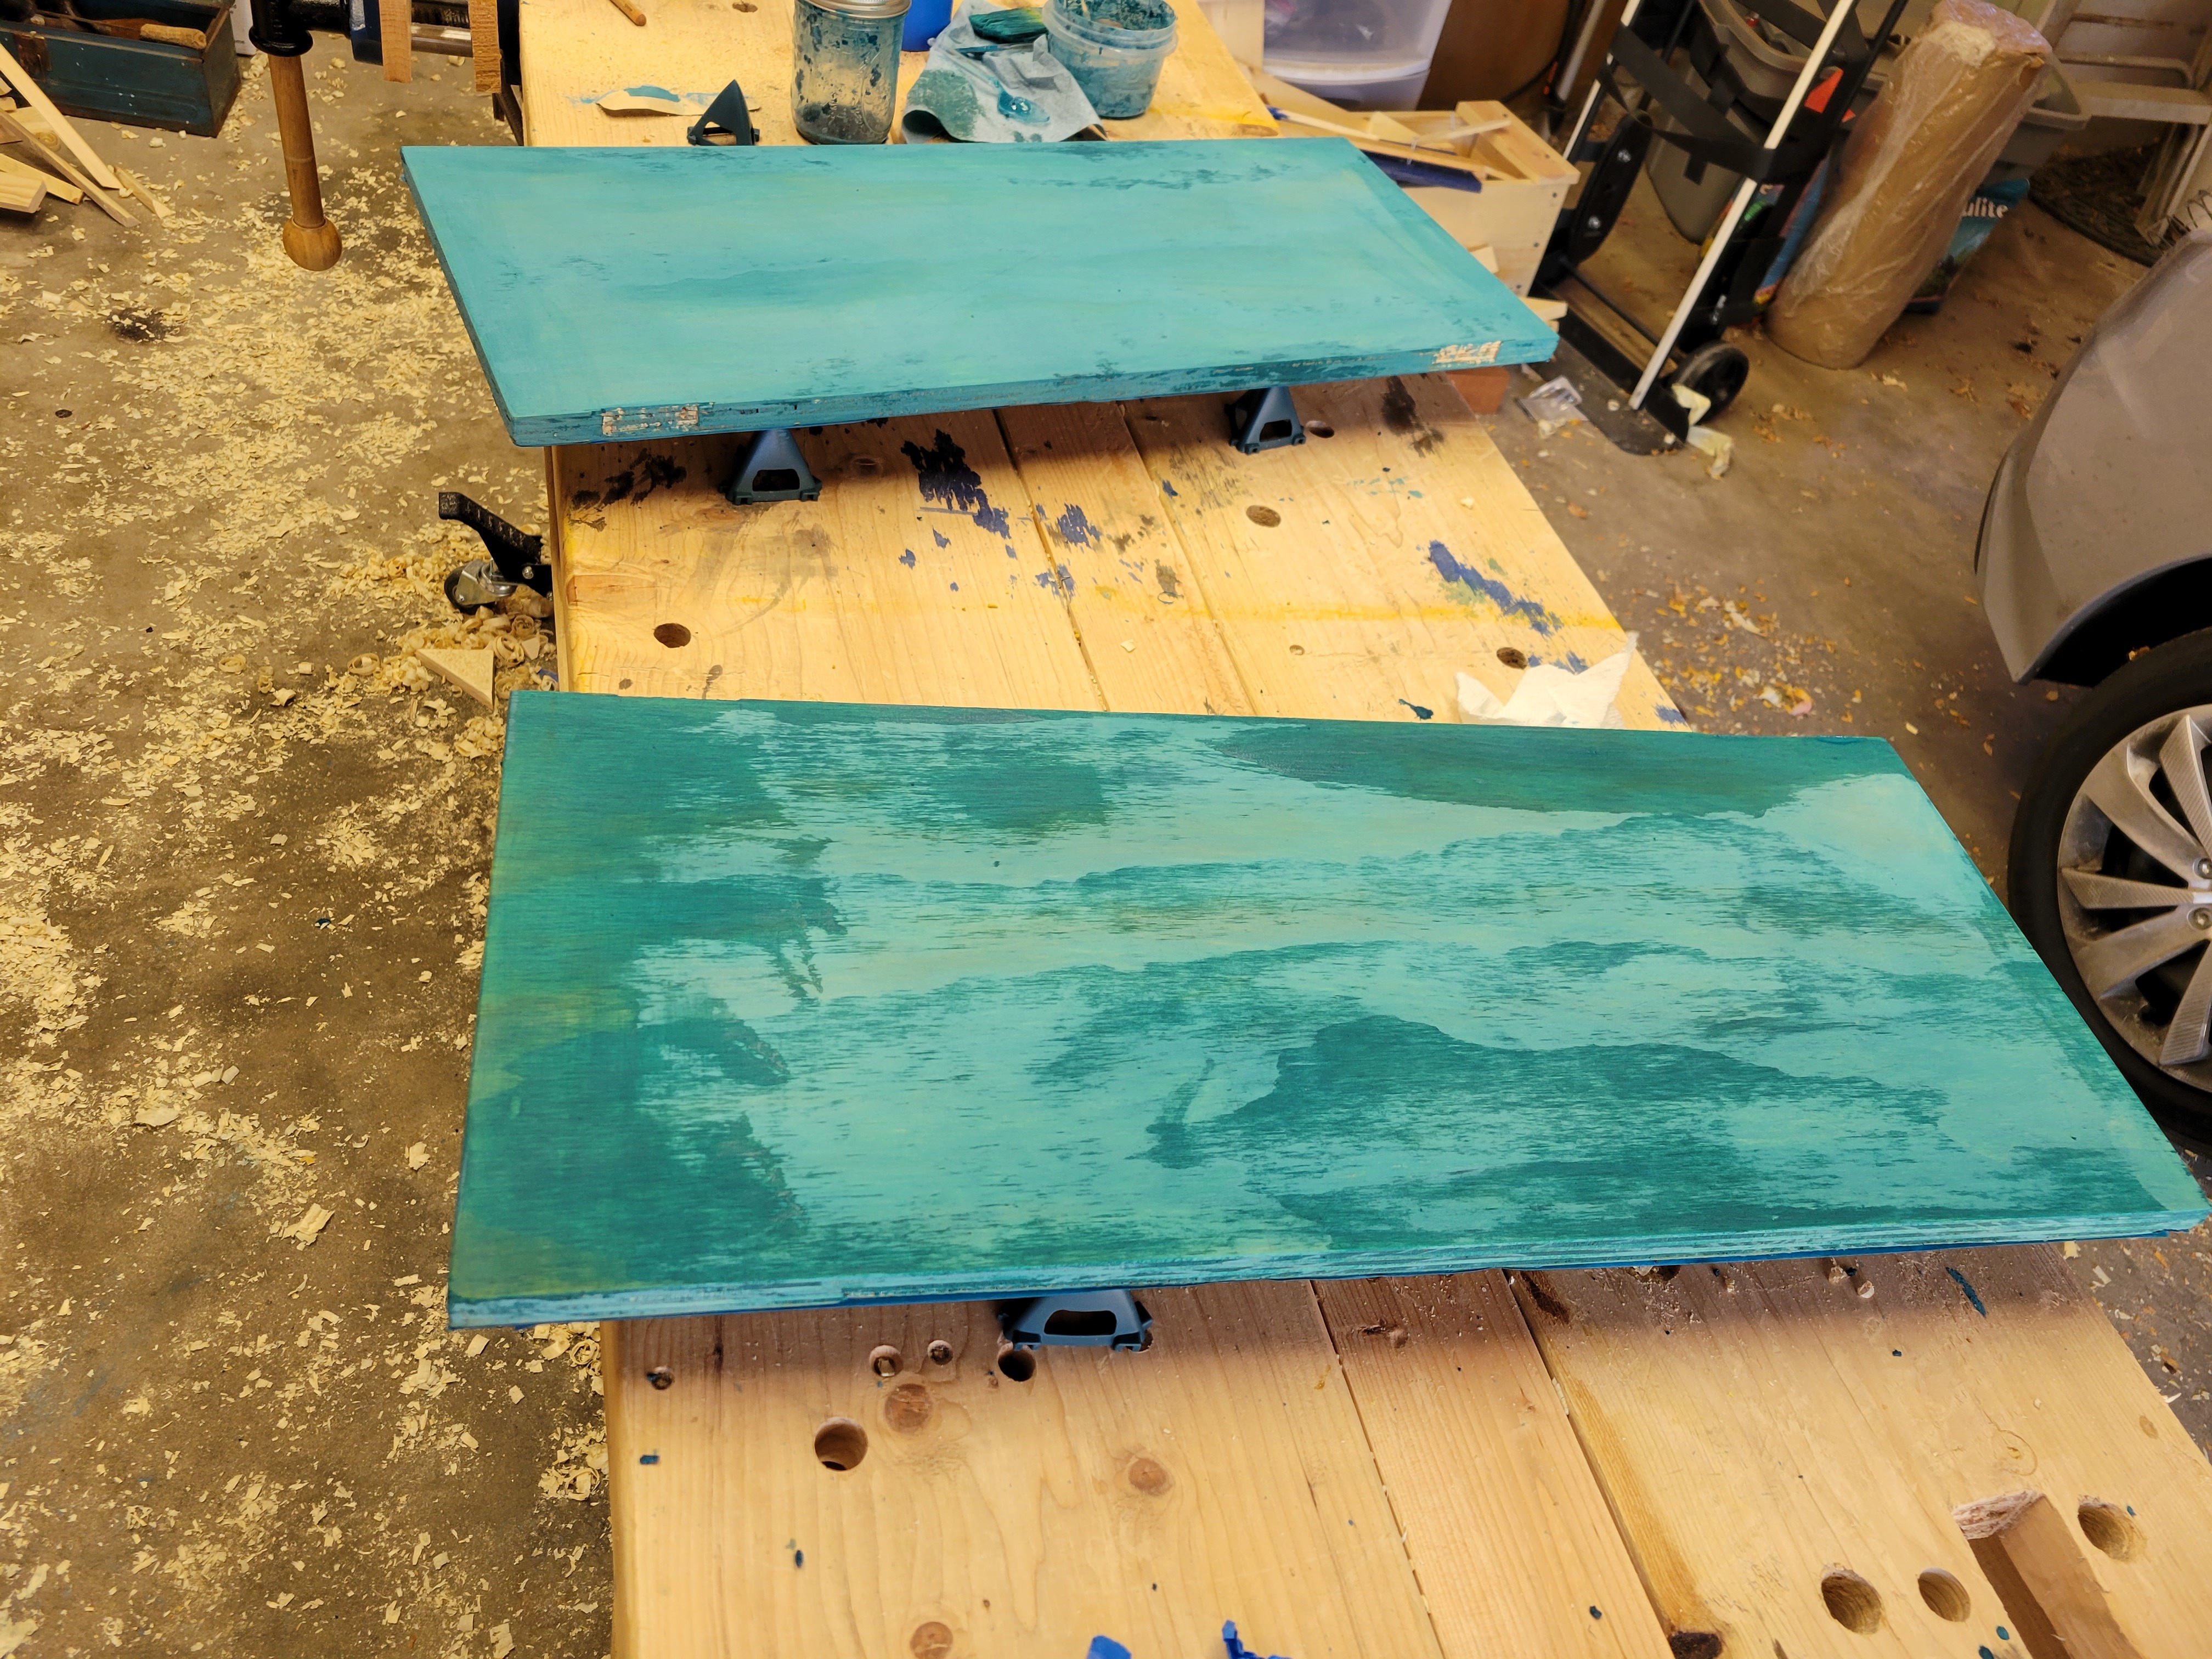

Milk paint dries very matte - it is extremely flat, does not reflect anything at all, and furthermore is quite fragile without something over the top to protect it. To topcoat it I used a couple of coats of shellac (the stuff in the can from the hardware store, I don’t have time to be a shellac snob). Once that was dry I put a coat of paste wax over the top and buffed it to a sheen with an old cloth diaper. (thank you to my dead, hippie wife for having that just lying around the house. Love you, babe! <3)
Once I was done with painting the case and the doors, I moved the goddamn thing into the actual house, both to prevent it from getting dusty and to be able to park my car in the garage now that it’s winter so I wouldn’t have to scrape snow off my windshield.
It may or may not have taken me a month after that to get the doors attached and the handles on. Don’t worry about it.
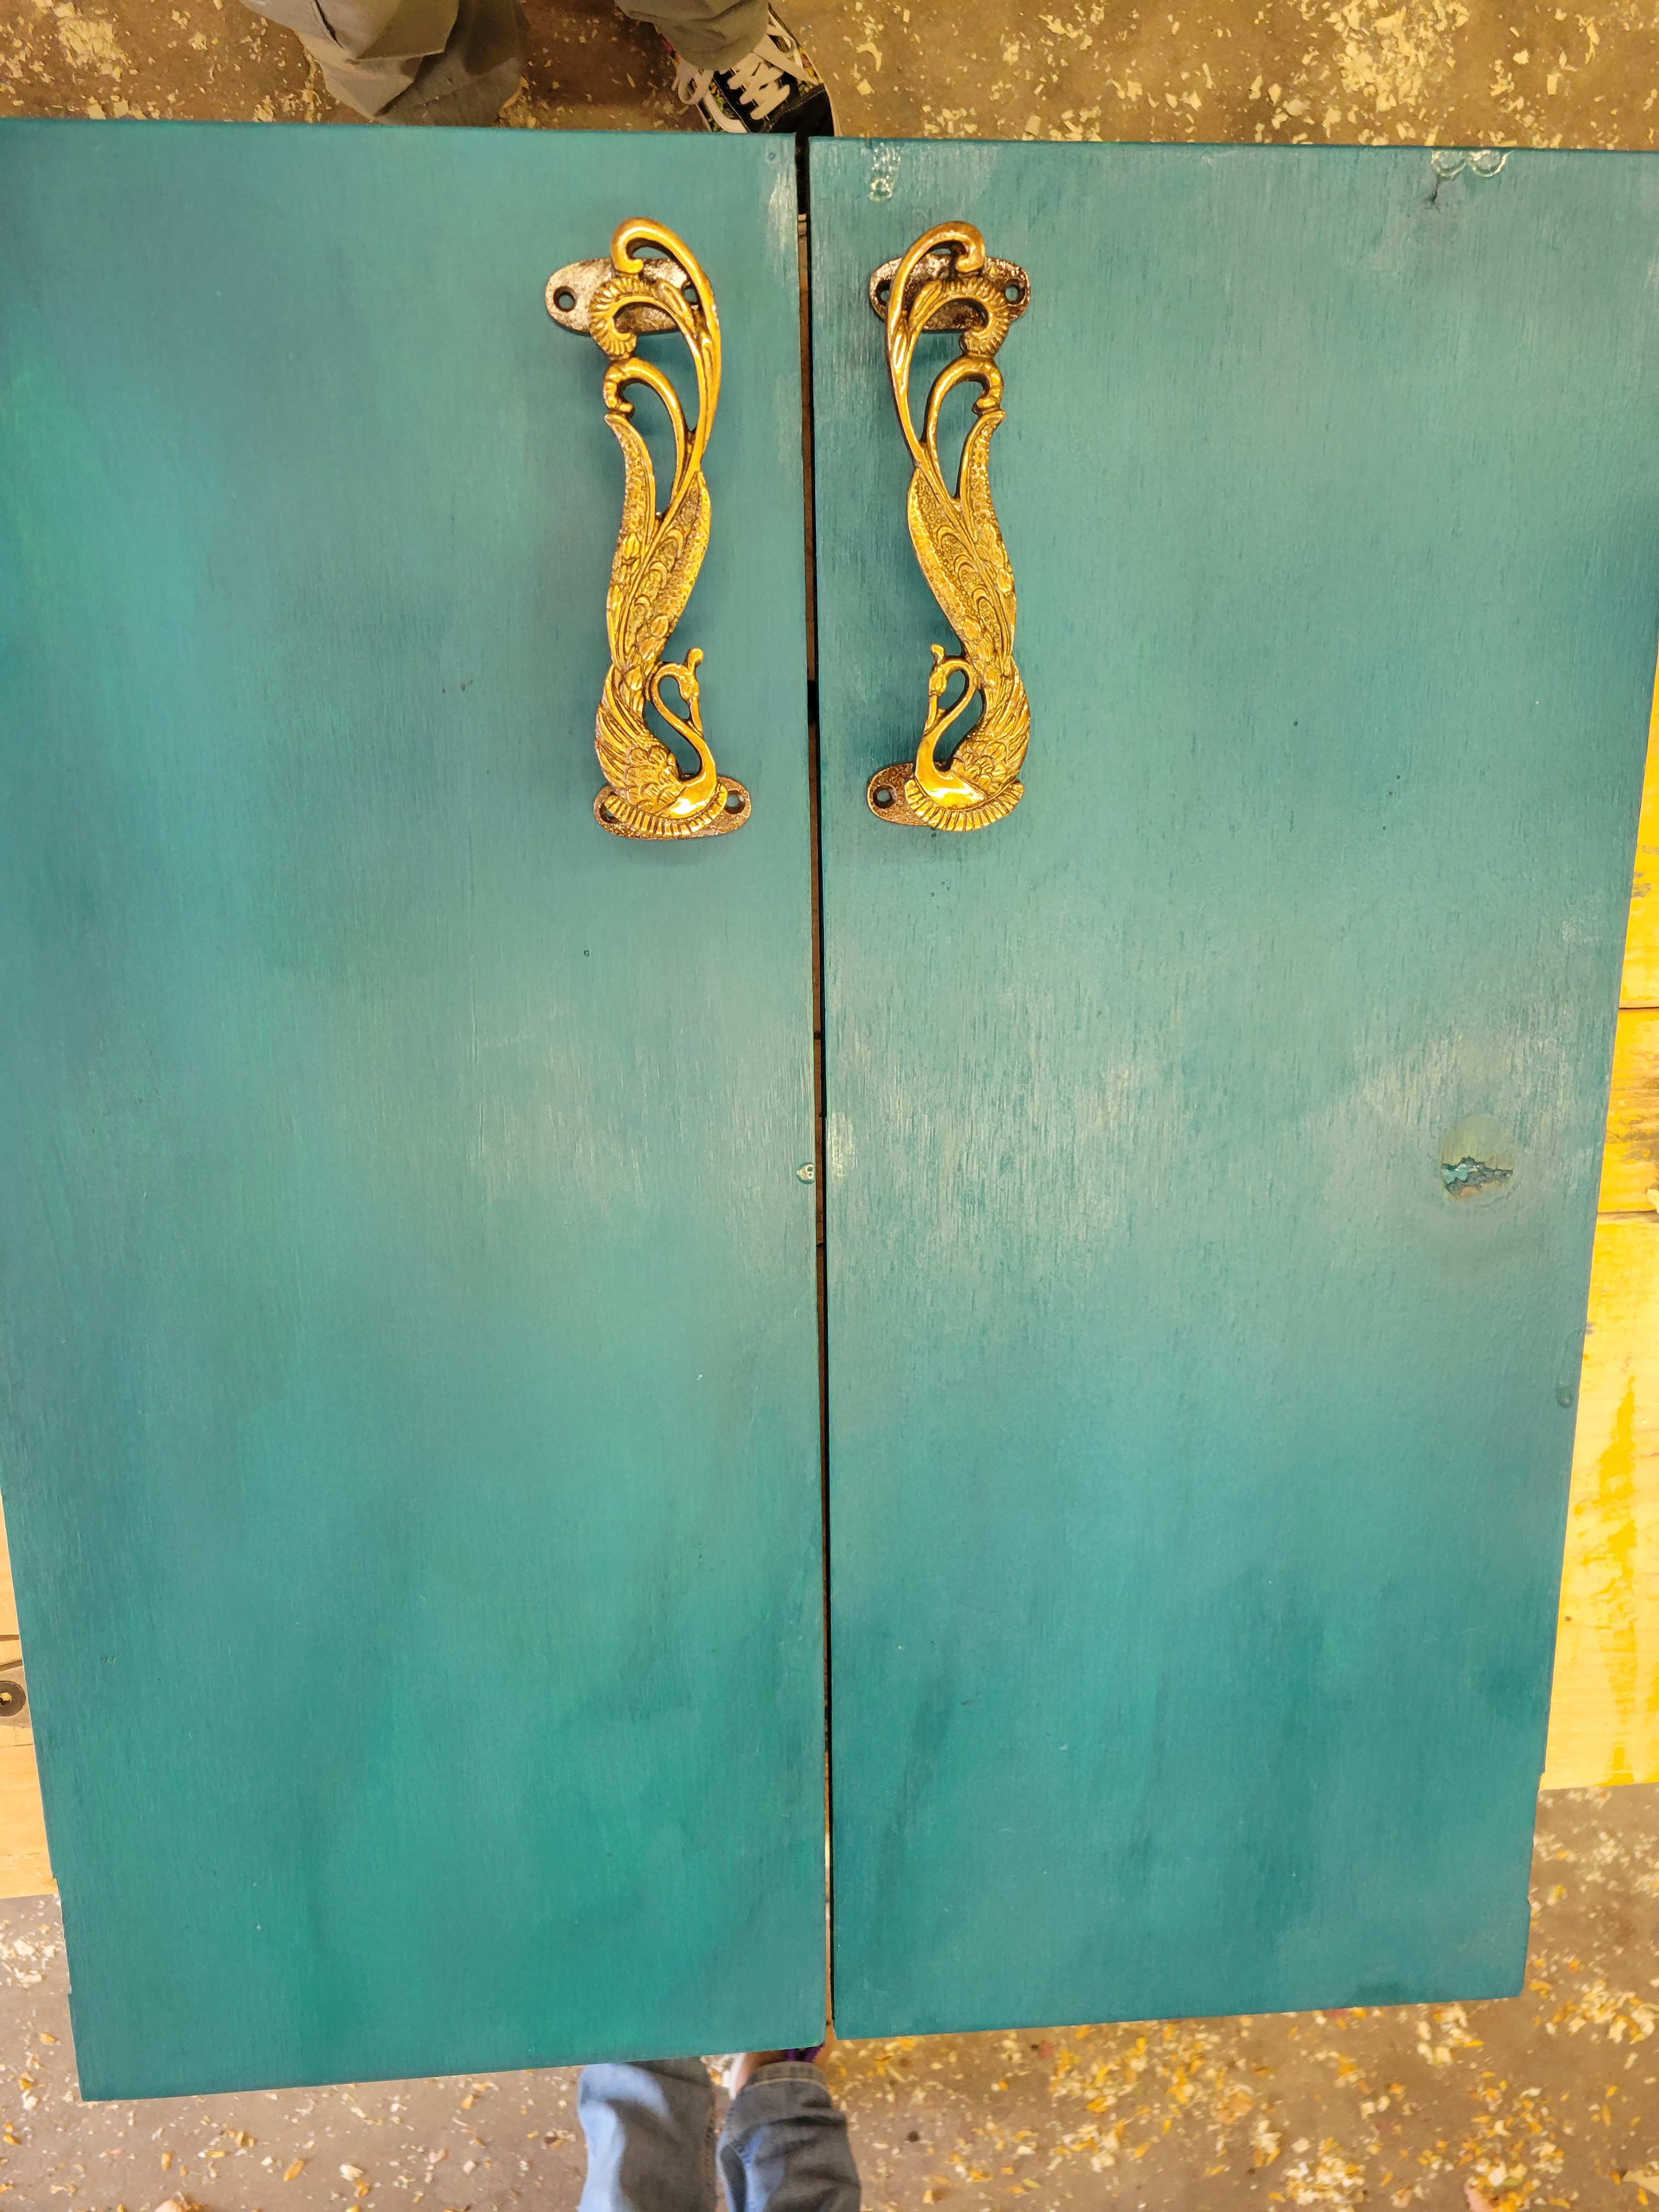
It wouldn’t have taken so long except that apparently I, in my infinite genius and because I am extremely handsome, mixed up the doors and painted them upside down, consequently causing me to install them upside down. I think that’s what happened, anyway. Either way, it meant the damn doors didn’t fit, so I spent a productive, if stultifying, afternoon chiseling and planing and scraping the door panels, shelves, and case to get the fucking doors to hang and fit correctly. This also meant I had to re-paint and re-shellac in various places, which was annoying, made more so by the existence of my cats.
(I also installed magnetic latches so the doors would stay shut. Modern technology is wonderful. And by “modern technology” I mean “$2 off-brand latch thingies from the hardware store”.)
However! I triumphed!
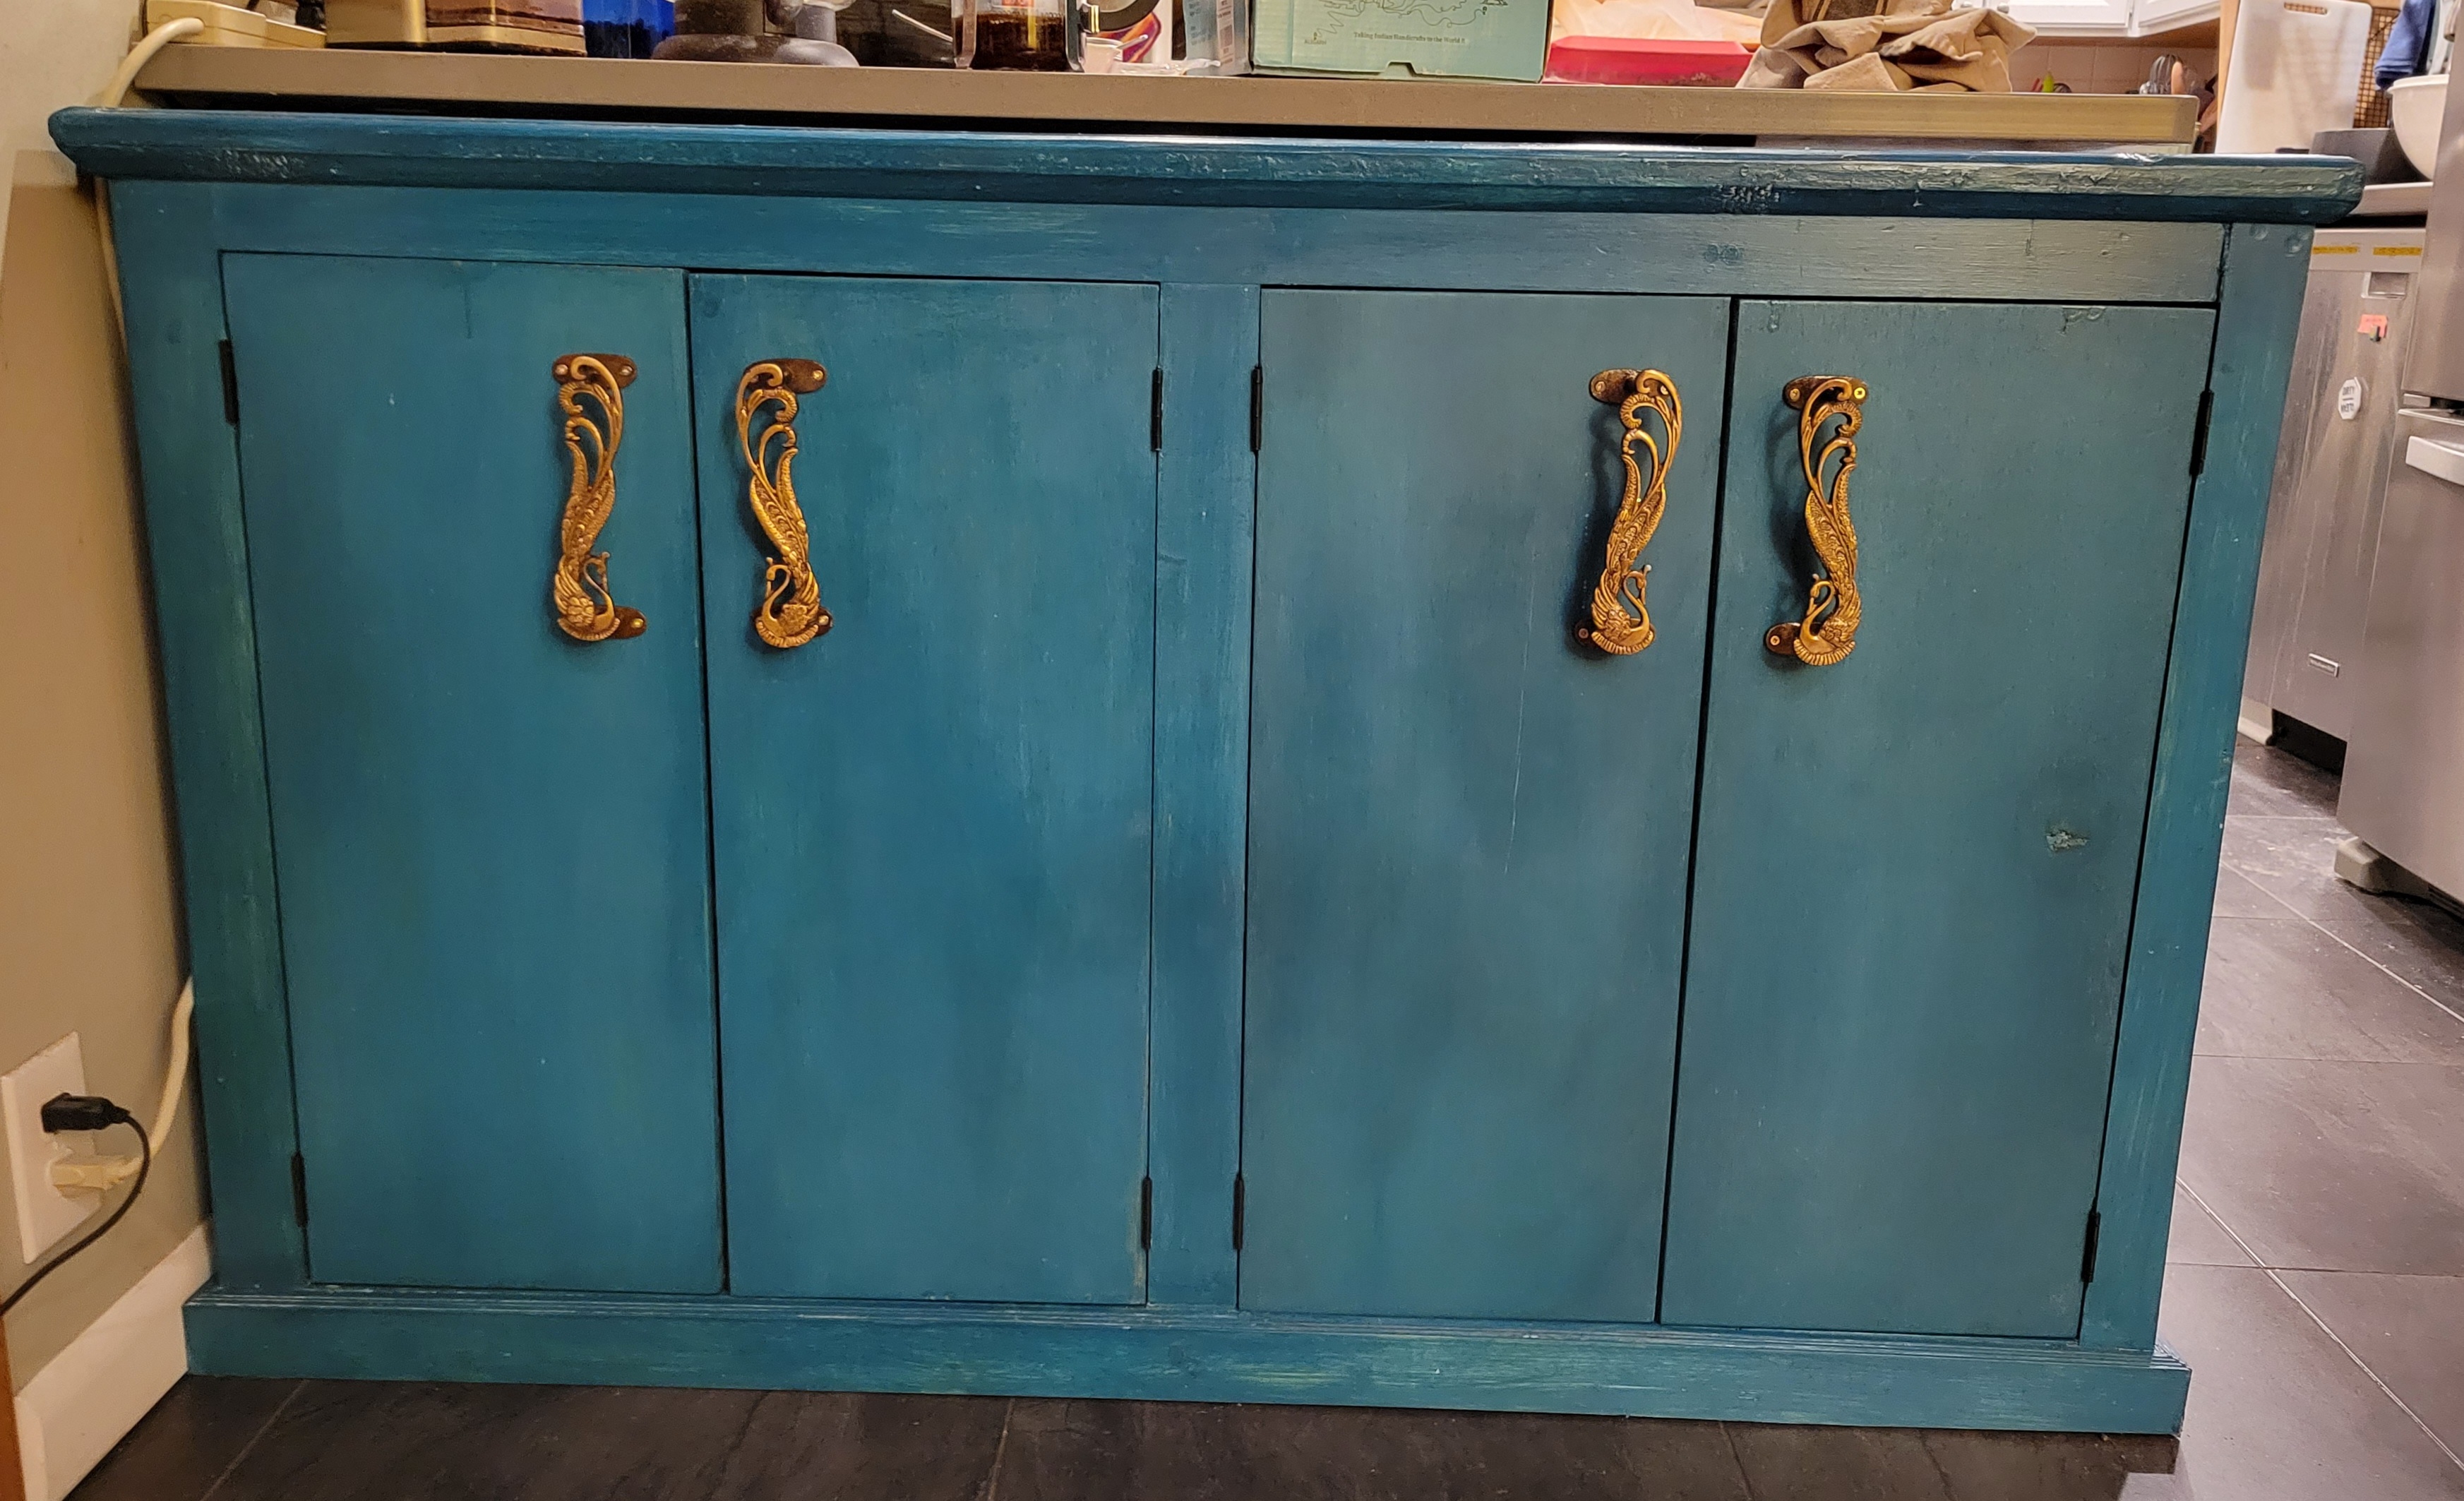
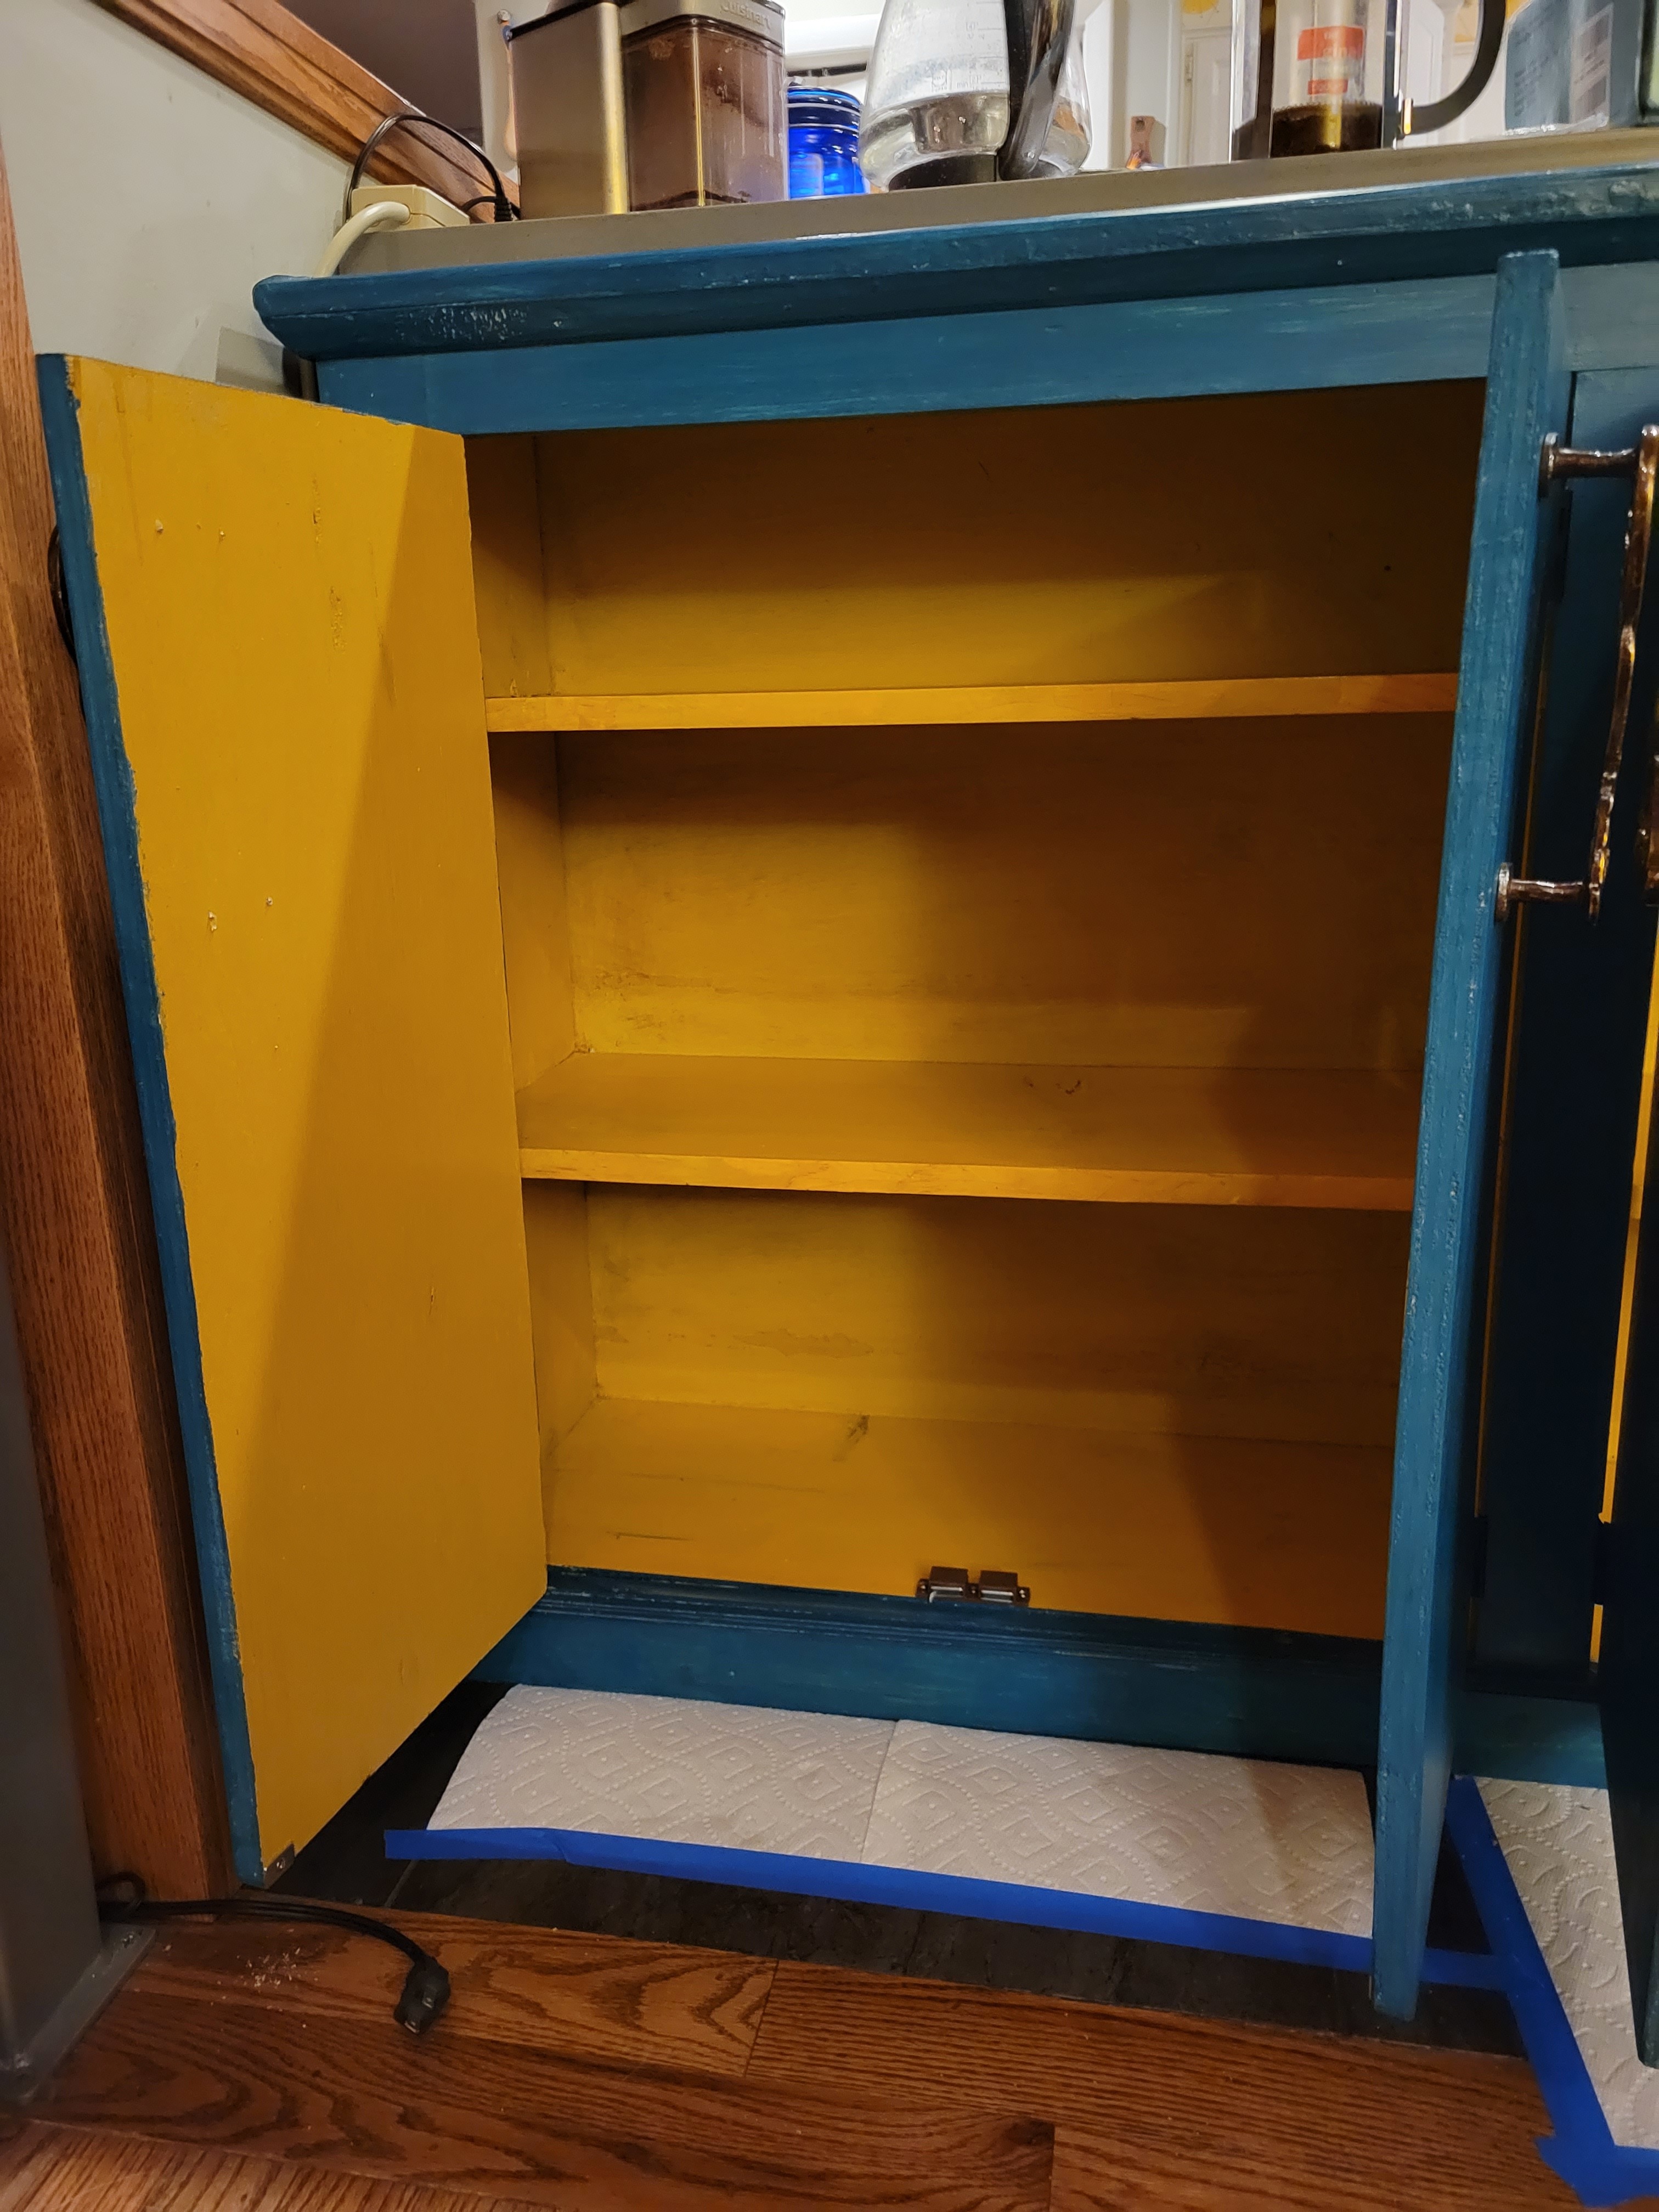
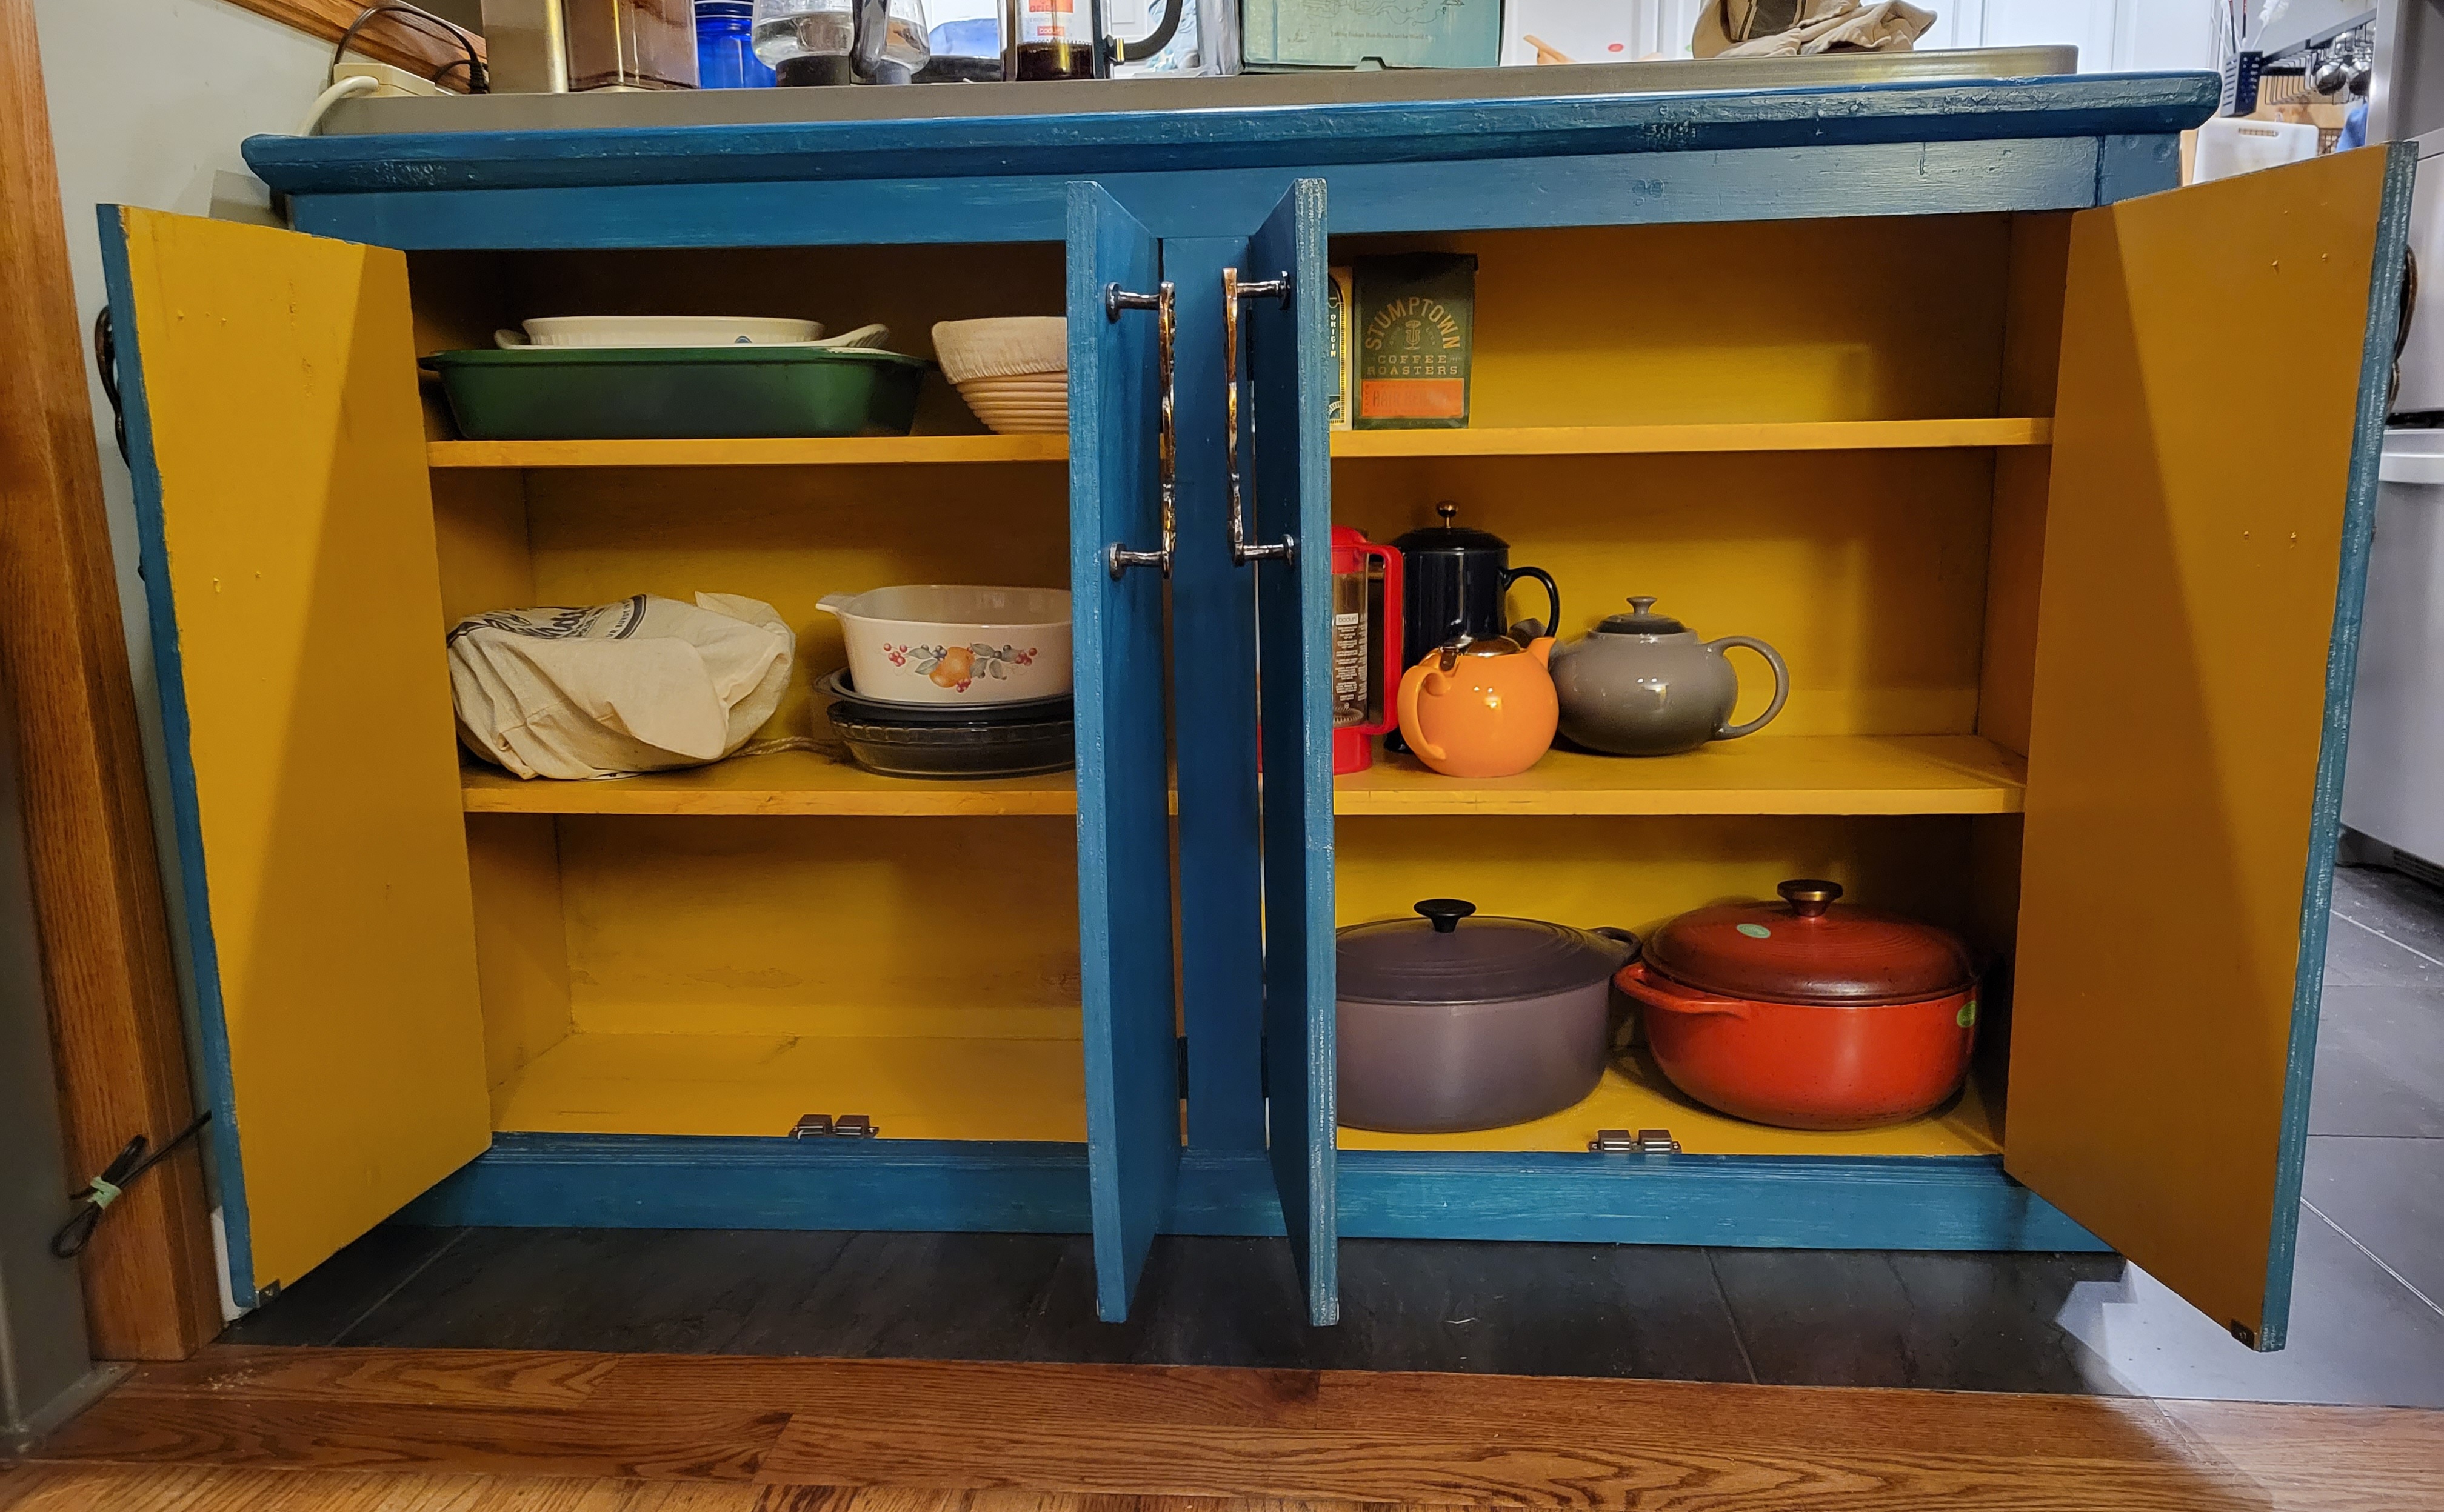
The goddamn cupboard is finished! And in my kitchen! And the damn doors close! Mostly! And there’s stuff in it and out of my baking cabinet! And I didn’t cut off a finger! Hooray!


